Making your own granola at home is a wonderfully satisfying experience. Not only can you control the ingredients and flavors, but you also avoid all the unnecessary additives and preservatives found in store-bought versions. Whether you’re new to the world of granola or have been making it for years, this guide will walk you through everything you need to know—from ingredients to preparation and even the potential pitfalls to avoid.
What Is Granola?
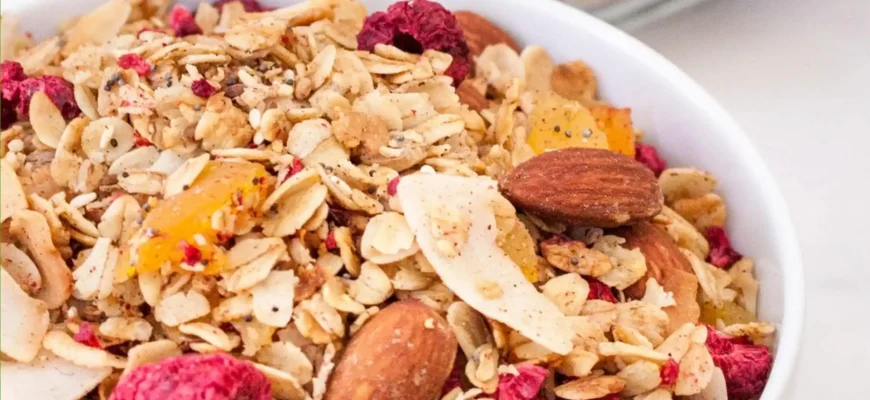
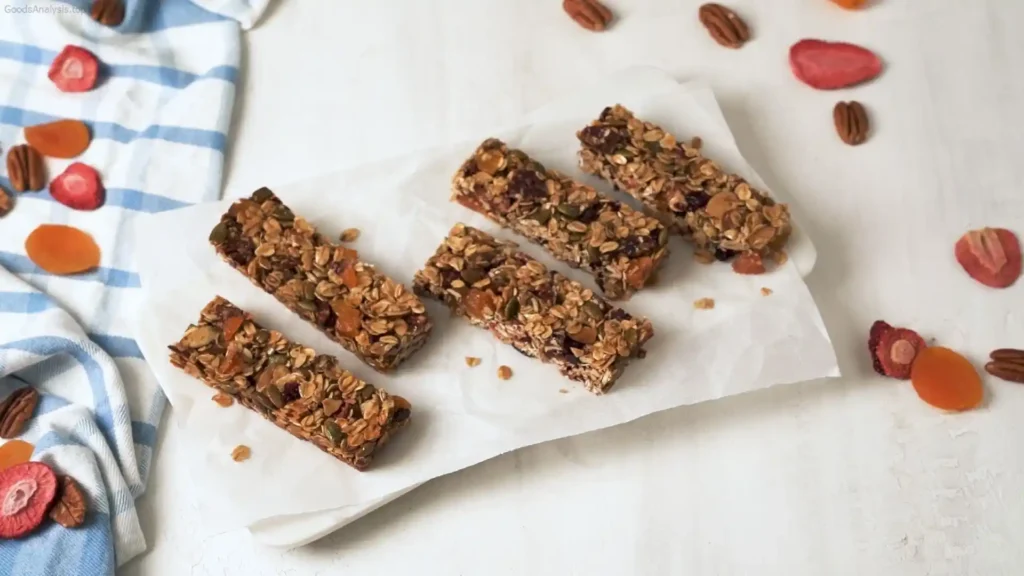
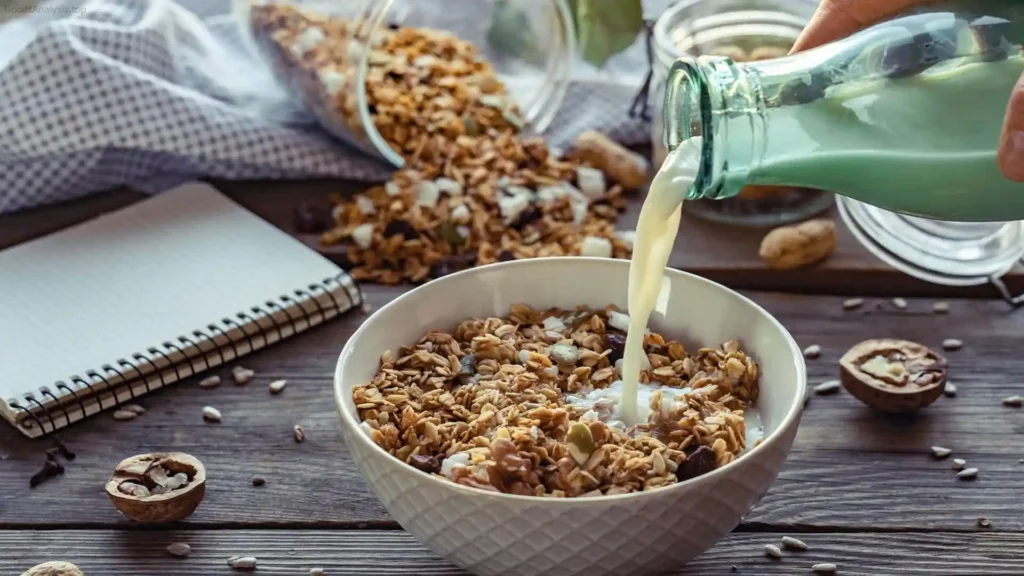
Granola is typically a mix of oats, nuts, seeds, and dried fruits, bound together with a sweetener like honey, maple syrup, or agave, and then baked until golden and crisp. But while this basic recipe is the foundation, there are endless variations to make it your own. Granola is popular for breakfast, as a snack, or even as a topping for yogurt or smoothie bowls. It’s nutritious, portable, and easy to customize based on your dietary needs.
Why Make Your Own Granola?
If you’re like most people, you’re probably used to grabbing a bag of granola from the store. It’s easy, right? But here’s the catch: commercial granola is often loaded with sugar, unhealthy fats, and artificial ingredients. By making your own, you can control the amount of sugar, salt, and fat that goes into the mix, making it a healthier option.
Plus, homemade granola can be far more cost-effective than buying pre-packaged versions. A batch of homemade granola might seem like it costs a lot up front, but the ingredients—especially oats, nuts, and seeds—are pantry staples that last for a long time.
Basic Ingredients
The beauty of granola is in its versatility. However, there are a few basic ingredients that make up most granola recipes:
- Oats: Rolled oats are the classic base for granola. They toast well and provide the chewy texture we all know and love.
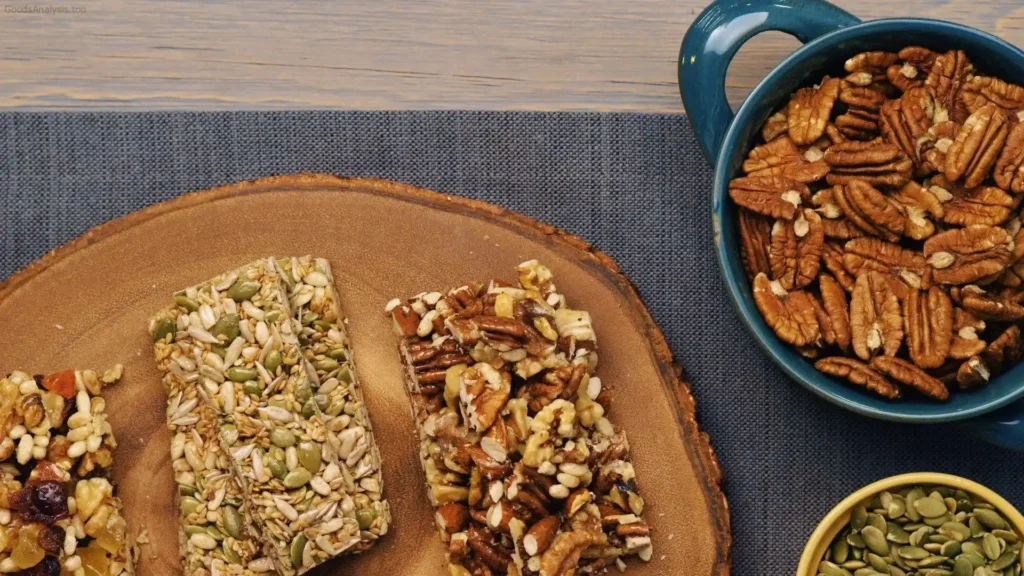
- Nuts and Seeds: Almonds, walnuts, pecans, sunflower seeds, and chia seeds are all great options. They add crunch, flavor, and a healthy dose of fats.
- Sweeteners: Honey, maple syrup, or agave nectar are the usual choices for binding the oats and nuts together. They also add sweetness. For a sugar-free option, you could use mashed bananas or unsweetened applesauce.
- Fats: Coconut oil, olive oil, or even butter can be used to help toast the granola and give it that satisfying crisp texture.
- Spices: Cinnamon, nutmeg, or vanilla extract are common spices to add flavor. For a little kick, you could try adding ginger or cardamom.
- Dried Fruits: Add raisins, cranberries, apricots, or coconut flakes for a chewy texture and a burst of sweetness.
How to Make Granola: Step-By-Step
Step 1: Preheat the Oven
Preheat your oven to 325°F (165°C). This moderate temperature will allow your granola to bake evenly without burning.
Step 2: Mix the Dry Ingredients
In a large mixing bowl, combine 3 cups of rolled oats with 1-2 cups of nuts and seeds. You can use any combination you like, but make sure to chop any larger nuts (like almonds or walnuts) into smaller pieces.
Step 3: Add Sweeteners and Fats
In a separate, smaller bowl, whisk together 1/4 cup of your chosen sweetener (honey, maple syrup, etc.), 2 tablespoons of fat (coconut oil, butter, or olive oil), and a pinch of salt. If you’re using spices like cinnamon or vanilla extract, add them to this liquid mixture as well. Stir until everything is well combined.
Step 4: Combine Everything
Pour the wet mixture over the dry ingredients and stir to coat the oats, nuts, and seeds evenly. The goal is to ensure that every piece is coated with the sweet, fatty mixture. This helps everything bake together into crispy, golden clumps.
Step 5: Spread and Bake
Spread the granola mixture in an even layer on a baking sheet lined with parchment paper. Bake for 20-25 minutes, stirring every 10 minutes to ensure even toasting. Keep a close eye on it towards the end, as granola can go from perfectly crisp to burnt in a matter of minutes.
Step 6: Add the Dried Fruits
Once the granola is golden and crisp, remove it from the oven and let it cool. After it cools, add in your dried fruits—raisins, cranberries, or whatever you prefer. If you add dried fruits while the granola is still hot, they’ll become too hard and may burn.
Step 7: Store and Enjoy
Once your granola is completely cool, transfer it to an airtight container. It can stay fresh for up to two weeks at room temperature or up to a month in the fridge.
Common Pitfalls and How to Avoid Them
1. Granola Burns Easily
Granola can go from perfectly toasted to overdone in the blink of an eye. This happens when the heat is too high, or the granola is left in the oven for too long. The key is to bake it at a moderate temperature (around 325°F) and stir it regularly.
Solution: Set a timer for every 10 minutes to give it a stir and prevent burning. Also, check the granola at the 20-minute mark; it can often be ready sooner than you think.
2. Granola Isn’t Crunchy
If your granola is soft or chewy when it’s cooled, it may not have had enough time in the oven, or it could be that you didn’t use enough fat or sweetener to properly bind it.
Solution: If your granola isn’t crunchy enough, pop it back in the oven for another 5-10 minutes. Make sure you’re using enough coconut oil or butter, and make sure everything is well-coated before baking.
3. Granola Gets Too Hard
Sometimes granola can turn out rock-hard, which makes it difficult to eat. This usually happens if you’ve used too much sweetener or the baking time was too long.
Solution: To prevent this, reduce the amount of sweetener slightly and stir the granola more frequently during baking. If you do end up with a hard batch, simply break it up and serve it over yogurt to soften it up.
Customizing Your Granola
Granola is incredibly versatile. You can swap out ingredients to suit your preferences or dietary needs. Here are some ideas for customizing your granola:
- Vegan: Use maple syrup instead of honey, and replace butter with coconut oil.
- Low-sugar: Reduce or omit the sweetener and use fruit like applesauce or mashed bananas as a natural binder.
- Protein-packed: Add a scoop of your favorite protein powder or hemp seeds for an extra protein boost.
- Nut-free: If you have nut allergies, skip the nuts and opt for extra seeds or puffed rice for crunch.
Nutritional Benefits of Homemade Granola
Granola, when made right, is a nutrient-packed food that offers a combination of complex carbohydrates, healthy fats, and protein. Here’s why it’s a great choice:
- Oats: Full of soluble fiber, oats help lower cholesterol and improve digestion.
- Nuts and Seeds: These provide healthy fats, protein, and a variety of vitamins and minerals, including Vitamin E, magnesium, and zinc.
- Dried Fruits: High in antioxidants, dried fruits like cranberries and raisins can provide a burst of natural sugar and fiber.
While homemade granola is a healthy choice, keep in mind that it can still be calorie-dense, especially if you use a lot of sweeteners or fats. Moderation is key.
People’s Opinions on Homemade Granola
John (Age 57, USA):
“I’ve been making granola for years, and I love how customizable it is. The store-bought stuff is just too sugary for me. I use coconut oil and a bit of maple syrup, and it comes out perfect every time.”
Maria (Age 42, Spain):
“I’ve recently switched to homemade granola because my kids love it for breakfast. I can control the sugar content and add in some extra protein powder for them. It’s a win-win!”
Haruto (Age 29, Japan):
“Making granola is therapeutic for me. I enjoy adding matcha powder to mine. It gives it a unique twist that I can’t find in store-bought varieties.”
Amira (Age 61, Egypt):
“I love making granola as a snack. Sometimes I make it in bulk, and it lasts me a while. I’ve even started adding dried figs and dates to give it a Middle Eastern flair.”
Luca (Age 33, Italy):
“I had never thought to make my own granola until my friend recommended it. It’s much healthier, and I can experiment with ingredients like hazelnuts and dark chocolate!”
Conclusion
Homemade granola is an easy and nutritious option for breakfast or a quick snack. It’s cost-effective, customizable, and a great way to ensure you’re eating wholesome ingredients without any unnecessary additives. And while it’s not perfect (it can burn, get too hard, or turn out a little soggy), with a little attention and practice, you’ll soon have a perfect batch of granola every time. Enjoy experimenting with different flavors, and remember to share your favorite combinations with others—you might just inspire someone else to start making their own too!

