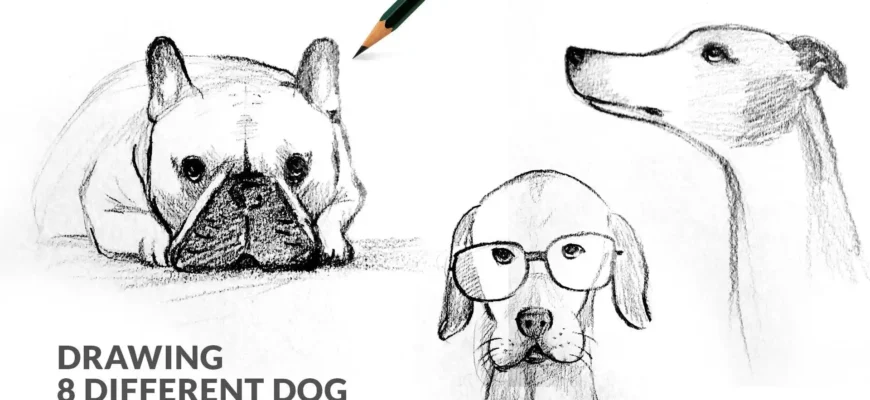
Drawing a dog may seem like a straightforward task at first glance—after all, we see them everywhere, so how hard can it be? Well, whether you’re a seasoned artist or someone who is just picking up a pencil, drawing a dog can be a surprisingly complex process. Why? Because dogs come in all shapes, sizes, and expressions, and capturing that personality on paper takes a little practice and patience.
But don’t worry! Whether you want to draw a cute little puppy or a majestic hound, I’ve got you covered. After 50+ years of observing dogs (and yes, drawing them too), I’ve learned a few things about creating a dog drawing that not only looks great but also captures the spirit of man’s best friend. And since life’s too short for bland advice, I’m going to keep it real, sprinkle in some humor, and give you an honest, in-depth guide to the art of dog drawing.
Step 1: Choose Your Reference
If you’re drawing a dog from life, you’re ahead of the game. But if you’re drawing from imagination or a photo, be sure to pick a reference that resonates with you. Here’s a little pro tip: don’t just choose the first dog you find online. A good reference photo should be clear, well-lit, and feature the dog in a pose that works for your artistic vision.
A side view can be easiest for beginners since it gives you a clear silhouette, but don’t be afraid to try more dynamic poses! A dog’s personality can really shine through in a playful, action-packed pose, even if it’s more challenging.
Negative Tip (It’s not all sunshine and wagging tails!)
Sometimes, the dog’s fur or features might be hard to see in a reference photo—especially with darker dogs on darker backgrounds. A quick solution? Increase the brightness or contrast of the photo before you start sketching. Or, you know, just pick a different photo that doesn’t make you squint at the screen.
Step 2: Start with Basic Shapes
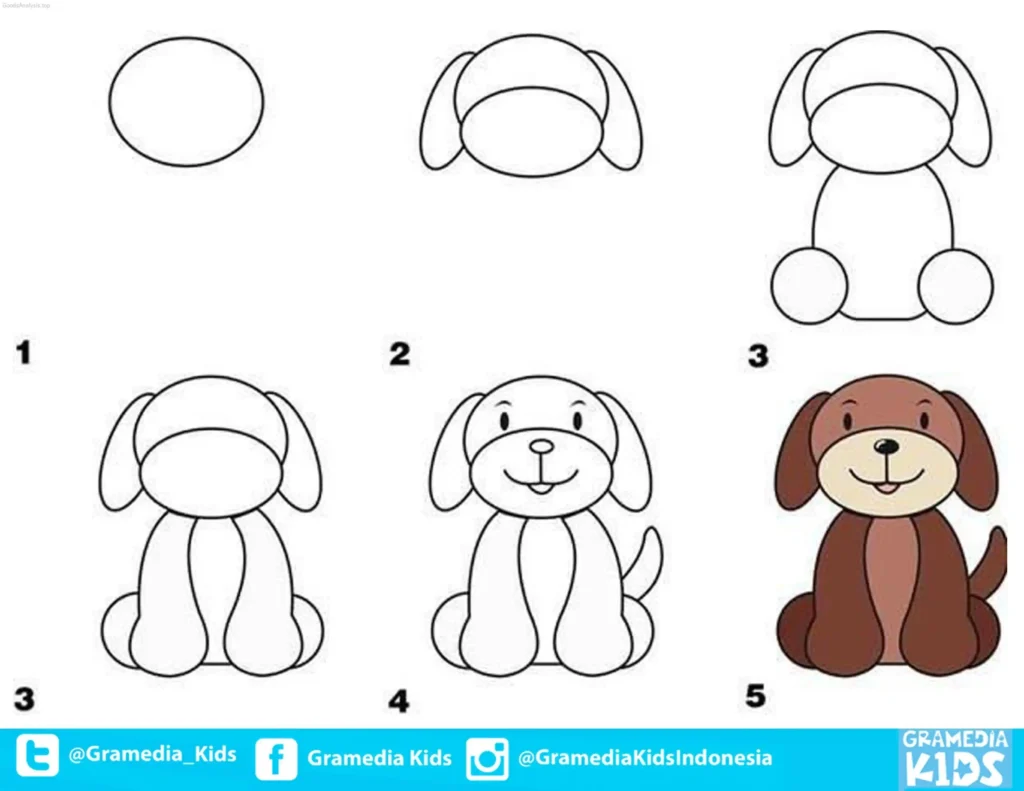
To keep things simple, break the dog’s body down into basic shapes. Start with a circle for the head and an oval for the body. Don’t worry about details just yet—this is about establishing the right proportions and positioning.
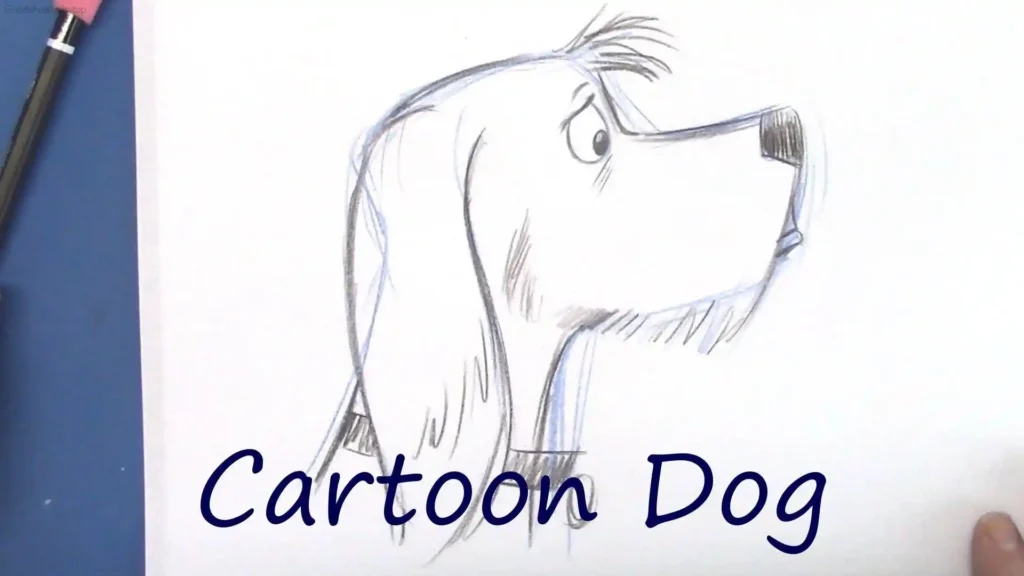
Here’s the breakdown:
- Head: Start with a basic circle or oval shape for the head. This will give you a clear understanding of the size and structure.
- Body: An oval or elongated rectangle will work for the body, depending on whether the dog is sitting or lying down.
- Legs: Draw simple lines or rectangles for the legs. These will act as placeholders for now.
Pro Tip:
Keep your lines light and sketchy at first. You can always refine and clean them up later, but it’s best not to commit to anything too early.
Step 3: Build the Dog’s Features
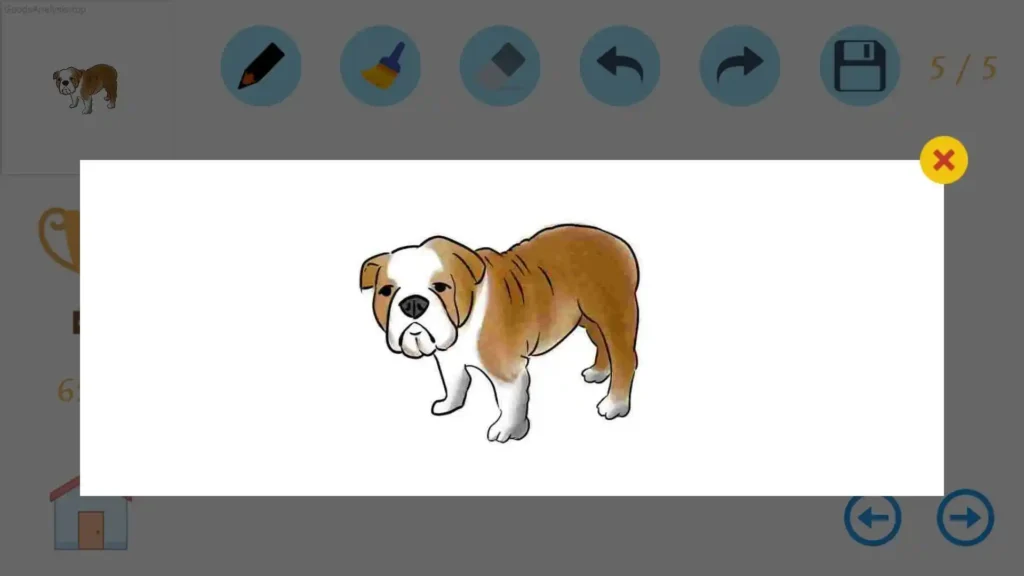
Once you’ve got the basic shapes in place, start adding the defining features of the dog. This includes the eyes, ears, nose, and mouth.
The Head:
- Eyes: Dog eyes vary depending on the breed. Some are round and large, while others are small and almond-shaped. Pay attention to the size and placement of the eyes for your specific breed.
- Ears: Dogs have a wide variety of ear shapes, from pointy to floppy. This is where you get to add personality! A dog with perky ears might look alert, while a dog with floppy ears looks more relaxed.
- Nose and Mouth: Dogs’ noses are often large and prominent. Draw the nose in proportion to the face and add a mouth line under the nose for a simple smile or snout.
The Body:
- Torso and Legs: Think about the breed you’re drawing. A Dachshund’s long body and short legs will look very different from a Greyhound’s sleek, muscular build. Adjust the length and width of the body and legs accordingly.
- Tail: A tail can communicate a lot about a dog’s mood. A wagging tail could be more playful, while a straight, rigid tail could signify alertness.
Step 4: Add Fur and Texture
Fur is where a lot of beginner artists get tripped up. But don’t worry, once you understand a few basic principles, it becomes much easier.
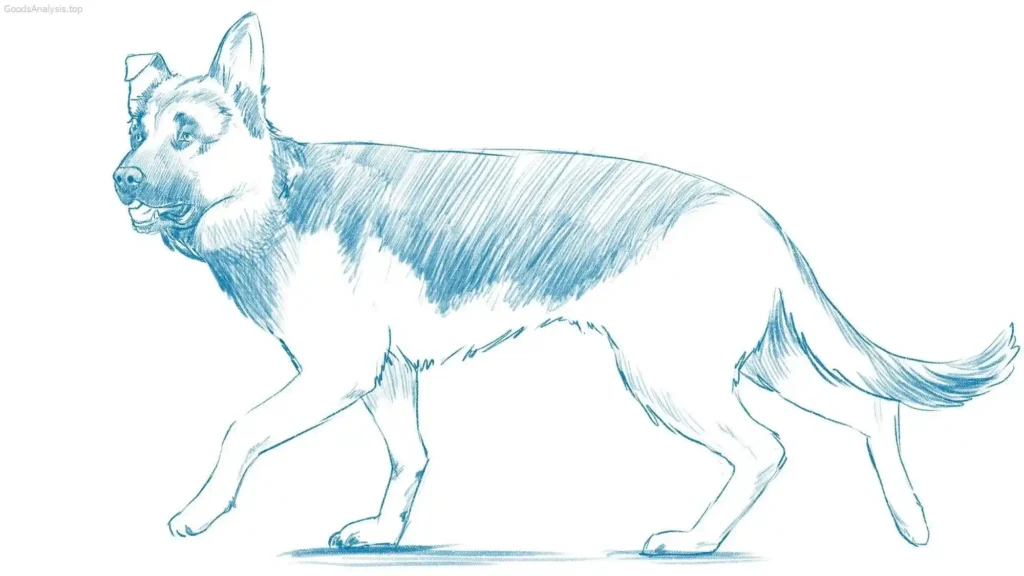
- Texture: Fur comes in different textures and lengths, from smooth to wiry to fluffy. Pay attention to the direction of the fur’s growth in your reference photo, and use short, light strokes to indicate this. For short-haired breeds, you won’t need to add as much detail, but for long-haired breeds like Collies or Golden Retrievers, you’ll want to add layers of fur with longer strokes.
- Shading: This is where your drawing starts to take on some life. Lightly shade areas where the fur naturally casts shadows, like under the belly, behind the ears, or under the tail.
Fun Fact:
Did you know that a dog’s fur can be one of the most expressive features in your drawing? Play with it to show the dog’s mood. A fluffy tail, for instance, can indicate excitement, while a sleek coat might suggest confidence.
Step 5: Final Details
Now it’s time for the finishing touches. At this stage, you’ll want to refine the lines, darken the shadows, and add any final texture. Don’t be afraid to erase some of your construction lines if they’re no longer needed.
Add final touches to the dog’s face—little wrinkles on the snout, shiny eyes, or even a tongue hanging out. These details will bring the dog to life and make it look more realistic.
A Quick Word About Color:
If you’re working with colored pencils, watercolor, or digital tools, now is the time to add color. Pay attention to the dog’s fur pattern and the shading on their body. Different dogs have very different coat colors, from pure black to multi-colored patches.
Step 6: Reflect and Adjust
Step back and look at your work. Does it capture the essence of the dog? If something doesn’t look quite right, don’t be afraid to tweak it. That’s part of the process! The more you draw, the better you’ll get at fine-tuning those details.
A Negative (but Useful) Tip:
You might feel frustrated if things aren’t going perfectly at first, and that’s okay. Art is about the process, not perfection. Keep practicing, and soon enough, you’ll be drawing dogs like a pro.
Real Life Opinions on Drawing Dogs
- Sarah, 35, USA (Digital Artist)
“I’ve been drawing dogs for years, and my biggest tip is to capture the personality. A good dog portrait should make you smile. Don’t be afraid to exaggerate the expressions!” - James, 52, UK (Amateur Illustrator)
“The hardest part for me is getting the proportions right. It’s easy to make a dog look too cartoony if you aren’t careful, but once you nail those basic shapes, everything else falls into place.” - Mia, 27, Brazil (Pet Owner & Hobbyist)
“I love drawing my dog, but sometimes it’s hard to get the fur right. I’ve learned that patience is key, and building up layers slowly helps with the texture. I use references from photos I’ve taken myself to make it more personal.” - Jaspreet, 50, India (Art Teacher)
“Dogs are often a great subject for beginners, but they’re also a challenge. The key is learning to observe closely. I encourage my students to start with simple breeds before trying something more complex.” - Lucas, 41, Australia (Graphic Designer)
“I started drawing dogs because I wanted to do a tribute to my childhood dog. It was tough at first, but once I understood how to break the dog’s features into shapes, it became a lot easier. Digital tools really helped me refine my sketches.”
Drawing a dog is a rewarding and enjoyable challenge, whether you’re sketching a simple doodle or a detailed portrait. With patience, observation, and practice, you’ll soon be able to create a masterpiece that not only resembles a dog but also conveys its spirit. So grab your pencils, find your favorite reference, and start sketching. Dogs have been waiting for centuries to be drawn, so let’s make it happen!

