Making your own face mask at home might seem like a simple task, but there’s a lot to consider if you want it to actually do the job. Whether it’s for personal protection, a beauty treatment, or just a fun DIY project, understanding the materials, methods, and purpose of face masks is key. So, let’s dive into everything you need to know, with a healthy dose of humor and real-world insights.
Why Make Your Own Face Mask?
Before we jump into the “how-to,” let’s talk about why you might want to make your own mask. There are various reasons people get crafty with face masks. Here are a few:
- Health Protection: Homemade masks gained global attention during the COVID-19 pandemic as a means of reducing the spread of the virus. While not a replacement for N95 masks, they can offer some level of protection when worn properly.
- Beauty: If you’re looking for something a little more “pampering,” homemade beauty masks are a popular way to hydrate, exfoliate, or treat your skin using natural ingredients like honey, yogurt, or avocado.
- Environmental & Cost Benefits: Making your own reusable face mask from fabric or other materials can help reduce waste and save money in the long run, especially if you need multiple masks for daily use.
Now, let’s move on to the specifics.
Materials You’ll Need
For Health Masks (e.g., Surgical-Style or Cloth Masks):
- Fabric: The most important thing when choosing fabric for a health mask is breathability and filtration. Cotton is often recommended due to its combination of comfort, breathability, and the ability to filter out particles. A tightly-woven fabric like cotton is better than loose-weave material.
- Filter Material: If you want to add an extra layer of protection, consider inserting a filter. Options include non-woven materials, like polypropylene (often used in the construction of medical masks), or even a vacuum cleaner bag. Just make sure whatever you use is breathable!
- Elastic bands or ties: To secure your mask around the ears or head. You can use elastic bands, cloth strips, or even old t-shirts cut into strips.
- Needle and thread or a sewing machine: If you know how to sew, this is the easiest way to create a snug mask that fits well.
- Scissors, ruler, and fabric markers: These tools help in measuring and cutting the fabric to the right size.
For Beauty Masks:
- Natural Ingredients: Think aloe vera, honey, avocado, oatmeal, or yogurt. These are excellent for moisturizing, soothing, or exfoliating the skin.
- Essential Oils (optional): A few drops of lavender or tea tree oil can add extra benefits to your beauty mask, like soothing inflammation or promoting relaxation.
- Mixing Tools: A bowl and spoon to mix your ingredients.
- Cloth or Gauze (optional): Some people prefer to apply their beauty masks on a cloth or gauze first, which makes it easier to apply evenly.
Step-by-Step Guide for Making a Health Mask
Step 1: Cutting Your Fabric
You’ll need a piece of fabric that measures about 7-9 inches (18-23 cm) wide and 6-7 inches (15-18 cm) tall. This size is for a basic mask that fits most adult faces. For kids, you might want to scale down the size.
Step 2: Fold and Layer
To improve filtration, fold the fabric in half or use two layers of fabric. This increases the protective barrier against particles, dust, or droplets. You can add a filter between these two layers if you wish.
Step 3: Sewing the Mask
If you have a sewing machine, this will be quick. Fold the top and bottom edges of the fabric and sew them down to create a hem. Then, sew the sides, leaving a small gap to insert your elastic or ties.
- Elastic ear loops: Cut two pieces of elastic that are about 6 inches (15 cm) long and sew them into the sides of the mask.
- Ties: If you don’t have elastic, cut strips of fabric (around 18 inches or 45 cm long) and sew them to the sides. These will tie behind your head.
Step 4: Creating a Snug Fit
Once your mask is assembled, fit it to your face to ensure a snug but comfortable fit. You may need to adjust the elastic or ties to make sure it stays secure without being too tight.
Step 5: Adding a Filter (Optional)
For added protection, you can sew a small pocket inside the mask to insert a filter. Remember, this is optional, but many people prefer it for extra peace of mind.
Step-by-Step Guide for Making a Beauty Mask
Now, let’s talk about facial masks that are more about skin health than virus protection. Here’s a simple recipe for a hydrating honey-olive oil mask, perfect for dry or sensitive skin.
Ingredients:
- 1 tablespoon honey
- 1 tablespoon olive oil
- 1 teaspoon lemon juice (optional, for brightening)
Instructions:
- Mix the Ingredients: In a small bowl, combine the honey and olive oil. Stir well until they form a smooth mixture.
- Apply to Face: Using your fingertips or a clean brush, apply the mixture evenly to your face, avoiding the eye area.
- Relax: Leave the mask on for 10-15 minutes. Take this time to relax—maybe read a book or listen to some soothing music. You deserve it.
- Rinse Off: Wash your face with lukewarm water, then gently pat it dry with a clean towel. Follow up with your favorite moisturizer.
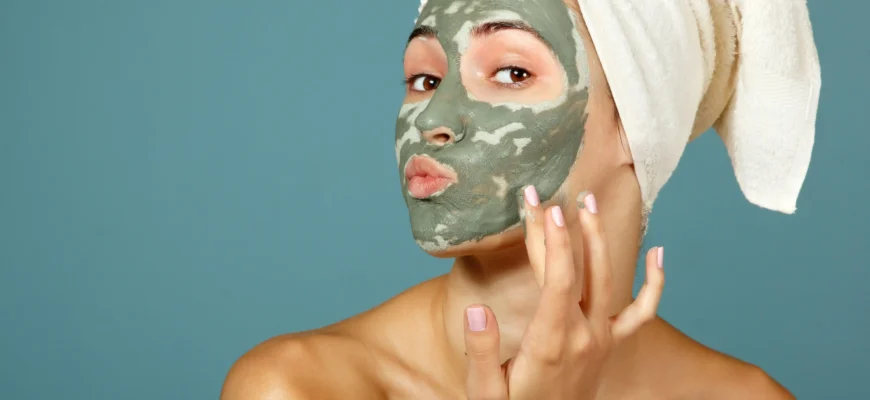
This honey-olive oil mask is great for moisturizing and nourishing the skin, but if you want to address other skin concerns like acne or oily skin, there are masks that incorporate ingredients like tea tree oil, clay, or activated charcoal.
Common Issues and How to Address Them
Even though making a face mask at home is fairly simple, it’s not always a smooth ride. Here are some things to keep in mind:
1. Poor Fit (Health Masks)
If your mask doesn’t fit well, it won’t be effective. Here’s the fix:
- Make sure to create a snug fit around the sides of your face and under your chin.
- Consider using a nose wire (a small piece of wire stitched into the top of the mask) to mold the mask to your nose and prevent gaps.
2. Irritation (Beauty Masks)
Some homemade beauty masks can cause irritation, especially if you have sensitive skin. Here’s what you can do:
- Always patch-test a small amount of the mask on your inner wrist before applying it to your face.
- If you have allergies, avoid using certain ingredients like essential oils or citrus juices.
3. Poor Fabric Choice (Health Masks)
Not all fabric is created equal. If you choose a fabric that’s too thin, it may not offer much protection. The solution?
- Layer up. Use multiple layers of fabric for better filtration.
- Opt for tightly-woven fabrics like cotton and avoid stretchy materials, as they don’t filter effectively.
Opinions from Around the World
- Maria, 35, Spain: “I love making my own face masks for skincare. They’re super easy to whip up, and I can customize them based on what my skin needs. Plus, no chemicals!”
- James, 60, USA: “I made a few cloth masks during the pandemic. They were helpful, but I wish I had added nose wires sooner. It’s all about the fit, right?”
- Liu, 28, China: “Beauty masks are such a big part of my routine, but I always make sure to use organic ingredients. You can’t beat the results from nature!”
- Raj, 50, India: “I made cloth masks for my family. I didn’t know much about fabric, so I started with cotton. It’s breathable and comfortable for long periods.”
- Tanya, 42, Canada: “I’ve always been into DIY beauty masks, but I started using natural clay recently. It’s great for deep cleaning my pores!”
Conclusion
Making your own face mask can be a rewarding and practical experience, whether it’s for health, beauty, or both. The key is using the right materials and paying attention to fit and comfort. With a little practice, you’ll be an expert in no time. Just remember, no matter what type of mask you’re making—whether to protect yourself or pamper your skin—the effort is worth it for the benefits you’ll reap.
Happy crafting!


