Drawing trees can be an incredibly rewarding and meditative experience. Whether you’re an aspiring artist or simply enjoy sketching for leisure, the process of drawing a tree offers a combination of creativity, patience, and observation skills. The beauty of trees lies in their variety, structure, and the way they reflect the natural world, and in this guide, we’ll cover how to approach drawing a tree from several angles.
1. Understanding the Basics: The Anatomy of a Tree
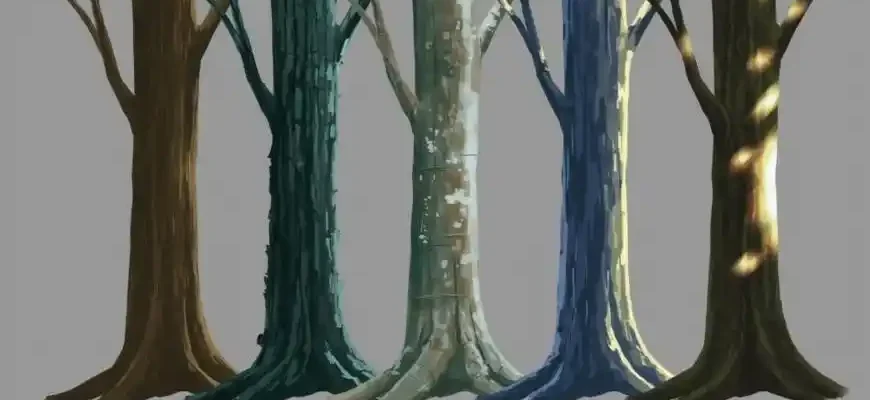
Before you start drawing, it’s essential to understand the basic anatomy of a tree. This will give you a clear framework to base your sketch upon. A tree consists of the following main parts:
- Roots: Often underground, these anchor the tree and absorb nutrients from the soil.
- Trunk: The main stem that supports the branches and leaves.
- Branches: They spread out from the trunk and support the leaves.
- Leaves: These grow on the branches and are responsible for photosynthesis.
- Crown: This is the canopy of leaves and branches, often giving the tree its iconic shape.
By understanding these parts, you can make your drawing more realistic and true to nature.
2. Materials You’ll Need
- Paper: Any kind of paper can work, but sketching paper with a smooth surface is ideal for beginners.
- Pencils: A set of pencils with varying hardness (e.g., 2H, HB, 2B, 4B) will help you achieve different shading and textures.
- Eraser: A kneaded eraser can be useful for adjusting details, while a regular eraser can be used for larger mistakes.
- Optional: Colored Pencils or Watercolors: If you wish to add color to your tree, colored pencils or watercolors are perfect for capturing the vibrant hues of nature.
3. Step-by-Step Process: How to Draw a Tree
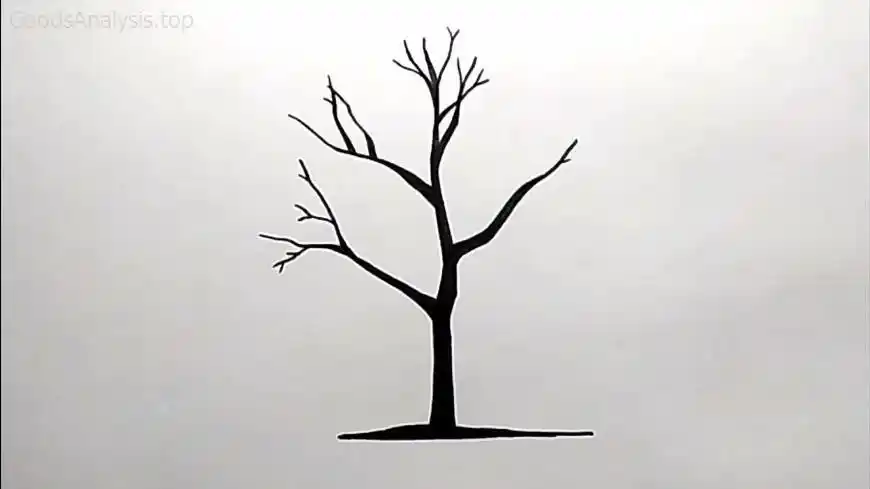
Step 1: Start with the Trunk
The trunk is the backbone of the tree, so begin by drawing a vertical line to indicate its center. Depending on the type of tree you’re drawing, the trunk can be thick or thin, straight or twisted.
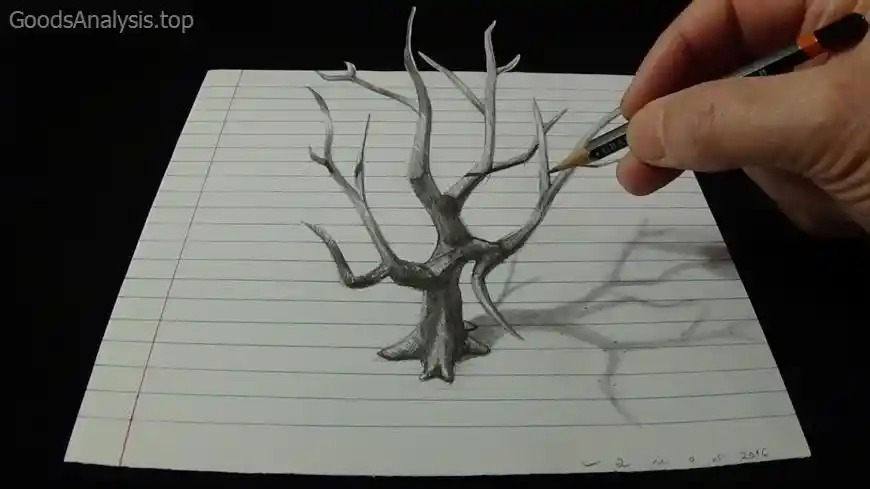
- For a realistic trunk, give it texture by adding irregular lines and curves to mimic the roughness of bark.
- Use softer pencils (like 2B or 4B) to add shading along one side to create depth. This helps make the trunk look more three-dimensional.
Step 2: Add the Main Branches
From the top of the trunk, draw a few main branches extending outward. These should be slightly curved, as most trees have branches that grow in a natural, organic way.
- Don’t be afraid to vary the size and direction of the branches. Some should be thicker, others thinner. If you’re drawing a specific type of tree, study its shape and structure to make it more authentic.
- Use light lines at first so you can easily adjust the angle or size of the branches.
Step 3: Sketch Smaller Branches and Twigs
Once the main branches are in place, add smaller branches and twigs growing out of the larger ones. These should taper off as they extend outward, becoming finer as they approach the ends.
Step 4: Draw the Leaves
Depending on the season and the type of tree, leaves can vary widely in shape, size, and density. For a deciduous tree, draw clusters of leaves at the end of the branches.

- For simple leaf shapes, use oval or elongated circles. A pencil can help you achieve soft, shaded leaves, while colored pencils or watercolors can bring these shapes to life with vibrant hues.
Step 5: Add Final Details
At this stage, your tree should be taking shape. Add extra details to enhance the realism of your drawing:
- Texture on the trunk: Use short, horizontal lines to give the bark texture.
- Shading: Add shadows under the branches and leaves to give depth to the drawing. This is especially important in the areas where the light hits less directly, such as beneath the canopy or behind larger branches.
- Background elements: Consider adding grass, a ground texture, or even distant mountains or a sky if you wish to place the tree in context.
4. Common Mistakes and How to Avoid Them
While drawing a tree seems straightforward, there are common mistakes beginners tend to make. Let’s address them:
- Over-symmetry: Trees in nature are never perfectly symmetrical. The tendency to make every branch and leaf identical is one of the most frequent mistakes. Instead, observe how branches and leaves grow in different directions.
- Flat trunk: Avoid drawing the trunk as a simple, straight line. A realistic tree trunk is often irregular with bumps and texture.
- Lack of shading: Shadows make a drawing more realistic. Don’t be afraid to darken areas where shadows would naturally fall, especially under branches and between leaves.
- Overcrowding: Adding too many details can overwhelm your tree. Focus on key details to give your drawing a natural, peaceful feel.
5. Tips for Drawing Different Types of Trees
- Pine Trees: These trees have a very distinct conical shape. To draw them, start with a simple triangular outline for the crown, then fill it with short, jagged strokes to create the texture of pine needles.
- Oak Trees: Oak trees have thick, sturdy trunks and large, lobed leaves. Emphasize the robust structure of the trunk and the wide-spread branches.
- Weeping Willows: Known for their long, drooping branches, these trees can be drawn by creating a cascading pattern of slender branches that extend downward.
6. Real-Life Perspectives: What People Think About Tree Drawing
We asked a diverse group of people about their experiences with drawing trees. Here’s what they had to say:
- Sarah, 29, USA: “I’ve always found trees soothing to draw. The best advice I got was to focus on the texture of the trunk before adding the leaves. It made my tree look so much more alive!”
- Marcus, 58, UK: “For me, drawing trees is all about patience. I try not to rush the process, especially when shading the branches. The more I let it evolve naturally, the better it looks.”
- Lian, 43, China: “I love adding color to my tree drawings. Sometimes I use ink for the trunk and watercolor for the leaves. It really brings the drawing to life.”
- Ava, 72, Australia: “I’ve been drawing trees for decades! One thing I’ve learned is that no two trees are alike, and that’s what makes them so fascinating. It’s all about experimenting.”
- Juan, 35, Mexico: “When I was a child, I always drew trees with perfect symmetry. Now I’ve learned that trees are more interesting when they’re asymmetrical. It gives them character.”
Conclusion
Drawing trees is an accessible, enjoyable skill that anyone can master with a bit of practice. From the initial trunk to the finishing touches on the leaves, the key is patience and observation. Keep in mind the natural irregularities of trees and feel free to experiment with your technique. And, of course, always enjoy the process – after all, nature’s finest creations are waiting to be captured on your page!
Remember: Each tree has a unique story to tell, and through your drawing, you get to share a piece of that story with the world. So, grab your pencil, and let’s make some trees! 🌳