
Granola bars — we’ve all eaten them at some point, whether they were your go-to breakfast on a busy morning or your snack to get you through that afternoon slump. They’ve become a staple in many homes, gyms, and offices. But what if you could make your own granola bars, exactly how you like them, at home? And here’s the best part — it’s easier than you think.
So, let’s dive deep into how to make homemade granola bars, covering everything you need to know. Whether you want a nutritious snack or a treat for your kids (or yourself), homemade granola bars can be an excellent option. And yes, I’ll make sure we look at the whole picture — from the benefits to the potential pitfalls, so you know exactly what you’re getting into.
Why Make Your Own Granola Bars?
Before we jump into the recipe, it’s worth asking: Why make granola bars at home when you can buy them pre-packaged from the store? Well, for starters, homemade bars allow you to control the ingredients. Many store-bought versions are loaded with sugars, artificial sweeteners, preservatives, and trans fats. Homemade bars, on the other hand, give you the chance to choose wholesome ingredients and customize them based on your preferences — and you get to skip the mystery chemicals.
Here’s a quick rundown of the main benefits of homemade granola bars:
- Control Over Ingredients: You can use organic oats, sweeten with honey or maple syrup, add nuts, seeds, and fruits of your choice.
- Healthier Option: By skipping refined sugars and preservatives, you create a cleaner, more nutrient-packed snack.
- Customization: You can tailor the bars to your dietary needs, whether that’s gluten-free, vegan, or protein-packed.
- Cost-Effective: Making granola bars at home is often cheaper than buying pre-made ones, especially if you buy ingredients in bulk.
But of course, there are a few considerations. Making granola bars takes time, and depending on the ingredients you use, they might not last as long as store-bought varieties. And if you’re not careful, they can become a bit too calorie-dense — especially if you use a lot of nuts or sweeteners. It’s all about balance and portion control.
The Basic Granola Bar Recipe
Let’s start with a basic granola bar recipe. You can adjust the ingredients based on your taste or dietary needs, but this will serve as your foundation.
Ingredients:
- 2 cups rolled oats (use certified gluten-free oats if you need them to be GF)
- 1/2 cup nut butter (peanut butter, almond butter, or sunflower seed butter — choose your favorite)
- 1/4 cup honey or maple syrup (for a vegan option, use maple syrup)
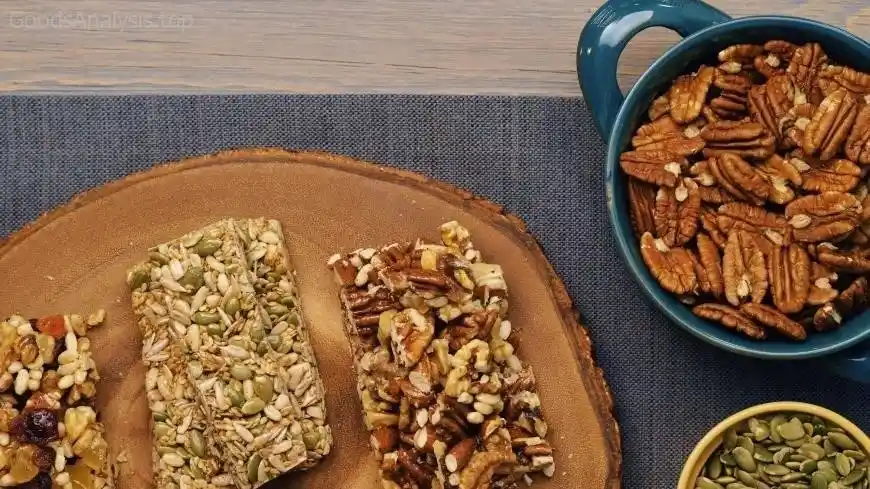
- 1/4 cup nuts and seeds (almonds, walnuts, chia seeds, flax seeds, etc.)
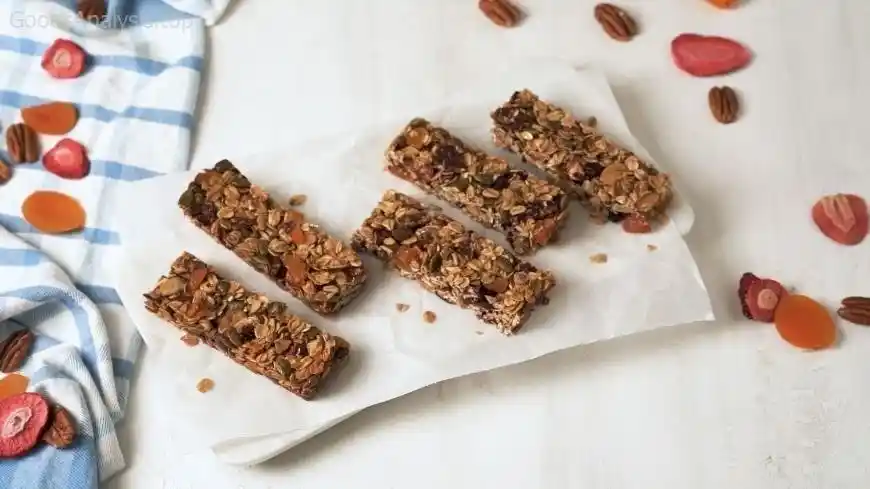
- 1/4 cup dried fruits (raisins, cranberries, apricots, etc.)
- 1/2 tsp vanilla extract (optional, but adds a nice touch)
- 1/4 tsp salt (optional, enhances the flavor)
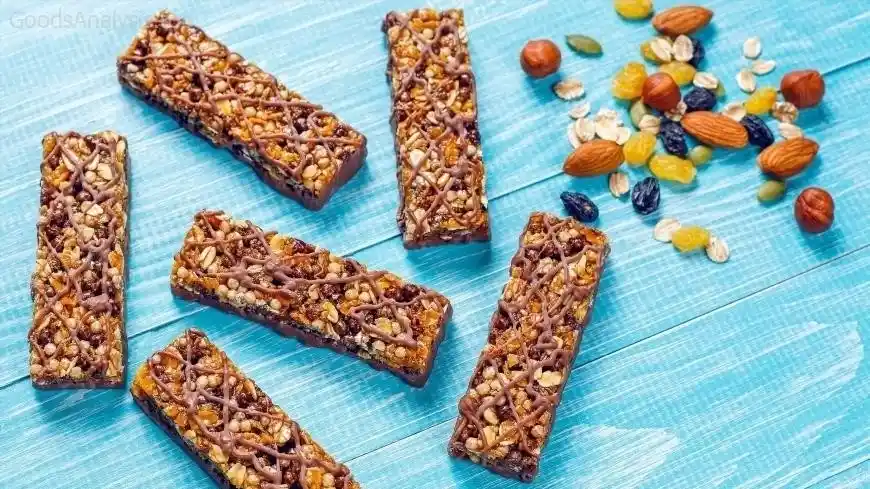
- 1/4 cup mini chocolate chips or cacao nibs (optional, for a sweet touch)
Instructions:
- Preheat oven to 350°F (175°C). Line an 8×8 inch baking pan with parchment paper, leaving a bit of overhang for easy removal later.
- Toast the oats and nuts: Place the oats and any whole nuts (like almonds or walnuts) in a single layer on a baking sheet. Toast them in the oven for 8-10 minutes, stirring halfway through. This step gives them a lovely nutty flavor.
- Mix wet ingredients: In a separate bowl, mix the nut butter, honey (or maple syrup), vanilla extract, and salt until smooth.
- Combine everything: In a large bowl, combine the toasted oats, nuts, seeds, dried fruits, and chocolate chips (if using). Pour the wet mixture over and stir everything together until it’s evenly coated.
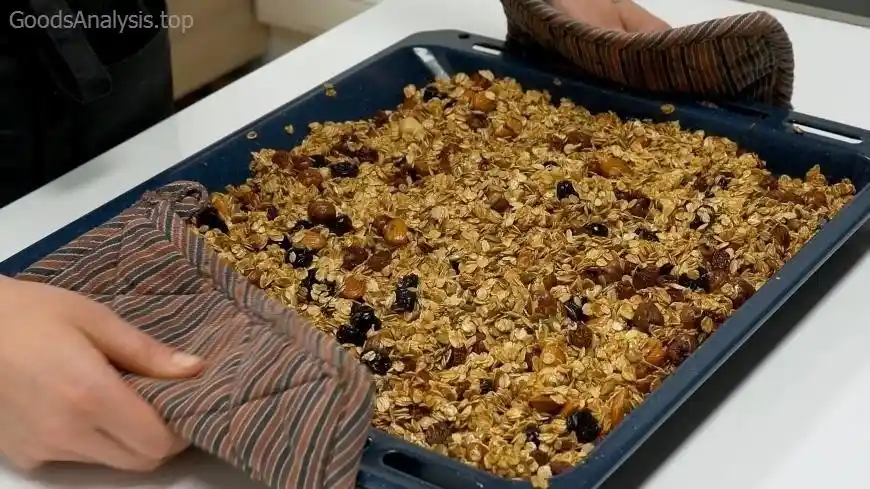
- Press into the pan: Transfer the mixture into your prepared baking pan. Press it down firmly with the back of a spoon to ensure it holds together once baked.
- Bake: Bake for 15-20 minutes, or until the edges start to turn golden brown. Keep an eye on them, as ovens vary in temperature.
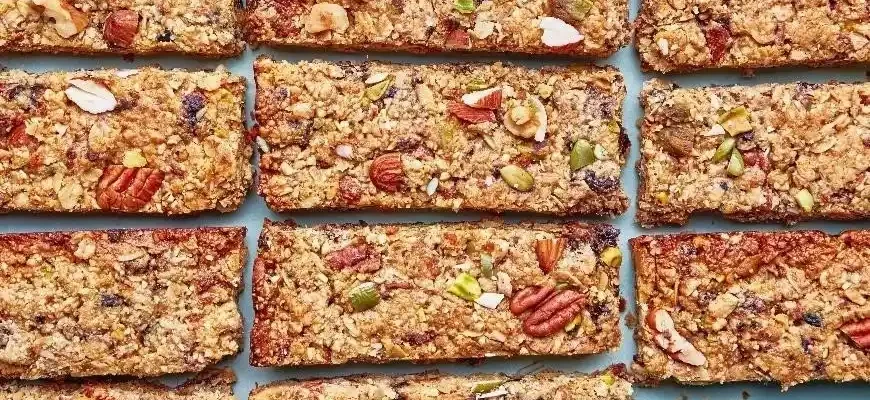
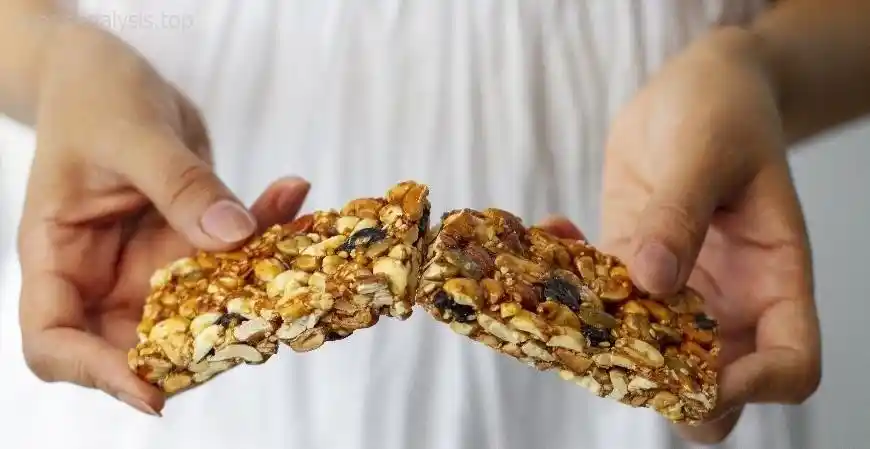
- Cool and cut: Let the granola bars cool completely in the pan before lifting them out using the parchment paper overhang. Then, cut them into bars or squares, depending on your preference.
Storage Tips: Homemade granola bars can be stored in an airtight container at room temperature for up to a week. If you want them to last longer, you can refrigerate them or freeze individual bars for later.
Customization Ideas
Now that you know the basics, you can tweak your granola bars to suit your tastes. Here are some ideas for personalization:
- Protein Boost: Add a scoop of protein powder to the mixture. This works particularly well if you’re making them for an after-workout snack.
- Vegan Options: As mentioned, swap honey for maple syrup and ensure the nut butter is vegan.
- Gluten-Free: Simply ensure that your oats are certified gluten-free.
- Flavor Variations: Add spices like cinnamon, nutmeg, or cardamom for a cozy, aromatic touch. A bit of cocoa powder can turn them into a chocolatey treat.
- Sweetness: If you prefer less sugar, reduce the amount of honey or syrup. You can also use natural sweeteners like stevia or monk fruit.
Common Pitfalls and How to Avoid Them
While making granola bars is relatively simple, there are a few common mistakes that can affect the outcome. Here are some tips to help you avoid them:
- Too crumbly?: If your bars don’t hold together, it’s likely that the mixture wasn’t pressed down firmly enough, or you didn’t use enough binding ingredients (like nut butter or syrup). Be sure to press the mixture into the pan tightly.
- Too sweet or not sweet enough?: This is an easy fix — adjust the amount of honey, syrup, or sweeteners to match your taste. Just be aware that a little goes a long way.
- Overbaking: If your bars are too dry or burnt, try reducing the baking time. Remember, they’ll continue cooking as they cool, so don’t overdo it.
Granola Bars for Different Lifestyles
Homemade granola bars are versatile enough to fit into nearly any lifestyle. Here’s a quick look at how they can benefit various groups:
- Busy professionals: If you’re on the go and need something quick, granola bars are an easy option to grab. You can even make a batch on the weekend and store them in the fridge or freezer for a quick snack throughout the week.
- Athletes and fitness enthusiasts: By adding extra protein, healthy fats, or energy-boosting ingredients like chia seeds, granola bars can make a great pre- or post-workout snack.
- Families: Granola bars are kid-friendly, and making them at home allows you to control the sugar and additives. You can even let your kids help mix the ingredients for a fun family activity.
- Health-conscious individuals: If you’re trying to eat cleaner or cut back on processed foods, homemade granola bars are a good way to get whole grains, healthy fats, and fiber into your diet.
Opinions on Granola Bars
Here are some opinions from people across different demographics on making their own granola bars:
- Anna, 32, USA: “I started making my own granola bars to reduce sugar in my diet. I’ve found that making them myself lets me control everything, especially the amount of sweeteners. I love that I can use ingredients I already have in my pantry.”
- Carlos, 45, Spain: “I’ve tried various store-bought granola bars, but nothing beats the taste of homemade ones. Plus, I can make them just the way I like, with more nuts and dried fruit. The key is finding that perfect balance of sweet and salty.”
- Mei, 61, China: “Making granola bars has been a fun new hobby for me. I’ve even experimented with adding green tea powder and goji berries. They’re healthier, and it’s a nice way to stay active in the kitchen.”
- Ahmed, 28, Egypt: “I love that I can make granola bars without worrying about preservatives or artificial ingredients. They’re great for my breakfast, especially if I’m rushing in the morning.”
- Chloe, 56, UK: “I’ve been making granola bars for years. They’re so easy and cost-effective. I always keep a batch in the freezer, so I can grab one when I need something quick and healthy.”
Final Thoughts
Making granola bars at home is not just a trend; it’s a practical, customizable, and fun way to create a snack that fits your lifestyle. Whether you’re trying to cut back on sugar, eat cleaner, or simply enjoy a homemade treat, granola bars are a great option. So, roll up your sleeves, grab your ingredients, and start experimenting with flavors and textures that work best for you.
And remember, even if things don’t turn out perfect the first time, you’ll still end up with a pretty darn good


