
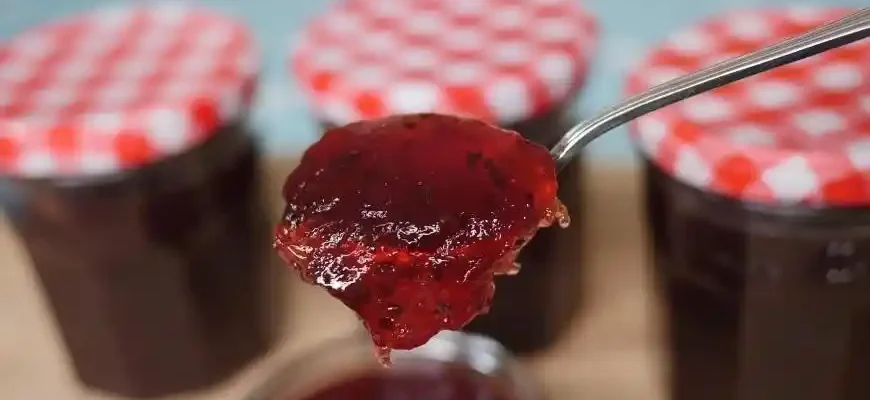
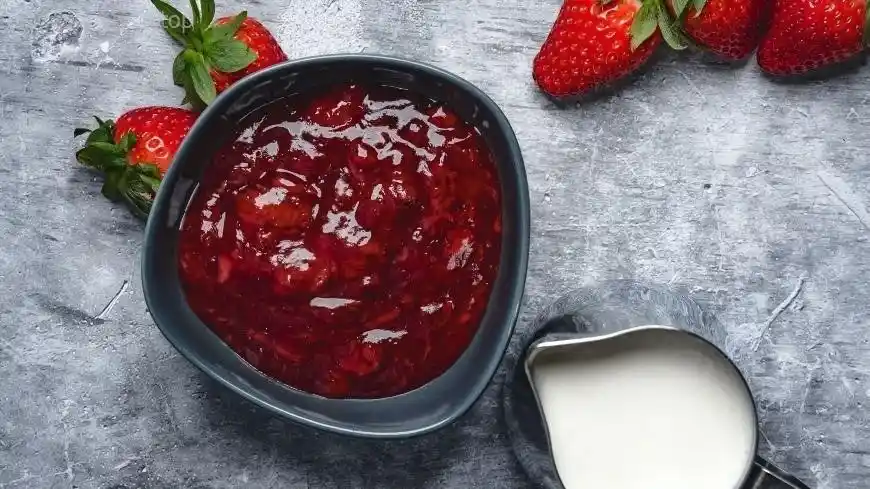
Ah, strawberry jam—there’s nothing quite like it. Whether you spread it on toast in the morning, dollop it onto your pancakes, or spoon it into your favorite yogurt, strawberry jam adds a touch of sweetness that elevates any meal. But, as simple as it may seem, making strawberry jam involves a bit of artistry, knowledge, and care to get it just right. With decades of hands-on experience, I’m here to guide you through the process step-by-step, covering everything from the benefits to the potential pitfalls, and even how to make sure you’re not caught out by some common jam-making mistakes.
Let’s dive in!
What You’ll Need to Make Strawberry Jam
Before we jump into the cooking process, let’s quickly go over the basic ingredients. This recipe is one I’ve used and perfected for years, and it’s a simple one that guarantees delicious results. You’ll need:
- Fresh Strawberries (about 4 cups)
- Choose ripe, fragrant strawberries. The juicier, the better. These are the star of the show!
- Sugar (about 4 cups)
- The sugar acts as both a preservative and a sweetener. Don’t skimp on this, or your jam may not set properly.
- Lemon Juice (2 tablespoons)
- This helps balance the sweetness of the strawberries and aids in the jam-setting process by activating the pectin.
- Pectin (1 box or 1.75 oz)
- Pectin is a natural substance found in fruits that helps your jam gel. If you prefer a more natural approach, you can find low-sugar pectin options.
- Optional: A pinch of salt or cinnamon
- Salt can enhance the flavors, while cinnamon adds a subtle warmth.
Note: If you want to experiment with lower sugar, there are sugar substitutes and low-sugar pectin options available, but I wouldn’t recommend going too far with substitutions unless you’re familiar with the jam-making process.
How to Make Strawberry Jam
Making strawberry jam involves four basic steps: preparing the strawberries, cooking the jam, testing for doneness, and canning it for storage. Let’s break it down.
1. Preparing the Strawberries
- Start by washing the strawberries thoroughly. Remove the hulls (the green leafy parts) and slice them into quarters.
- In a large bowl, mash the strawberries with a potato masher or blend them if you prefer a smoother texture. Some people like to leave small chunks in their jam, while others go for a more silky consistency—totally up to you!
- Measure out about 4 cups of mashed strawberries.
2. Cooking the Jam
- Pour the mashed strawberries into a large pot. Add the sugar and lemon juice. Stir well to combine.
- Heat the mixture over medium-high heat. Stir constantly, bringing the jam to a boil. As it heats up, the sugar will dissolve, and the strawberries will release their juice.
- Once it reaches a boil, add the pectin. Stir to dissolve completely, and let it boil for 1-2 minutes. At this point, the mixture should begin to thicken.
3. Testing for Doneness
- The key here is to check whether your jam has reached the proper consistency. There are a few ways to do this:
- Cold Plate Test: Place a spoonful of jam on a cold plate, and let it sit for a minute. Run your finger through the jam—if it wrinkles and holds its shape, it’s ready. If it runs back together, let it boil for another minute and test again.
- Thermometer Test: If you have a candy or jam thermometer, you’re aiming for a temperature of 220°F (104°C).
4. Canning and Storing
- Once your jam has thickened to the desired consistency, it’s time to preserve it! If you’re canning, make sure your jars and lids are sterilized. You can do this by boiling the jars for 10 minutes before use.
- Pour the hot jam into the jars, leaving about half an inch of space at the top. Wipe the rims of the jars clean with a cloth and screw on the lids tightly.
- Process the jars in a boiling water bath for 10 minutes to create a vacuum seal. This will ensure your jam lasts for months on the shelf.
- Allow the jars to cool, and check that the lids have sealed by pressing the center of the lid. If it doesn’t pop back, the jar is sealed. Store in a cool, dark place.
Tips, Troubleshooting, and Common Mistakes
Here’s where I can share some of my wisdom. After years of jam-making, you pick up a few tricks and avoid a few pitfalls. Let’s get real for a moment:
- Overcooking the Jam: The most common mistake I see? Overcooking the jam. I know the temptation is there to cook it longer just to be sure, but trust me, overcooking makes for a jam that’s too thick (almost candy-like) or crystallized. So, stick to the tests above.
- Too Much Sugar: It’s tempting to throw in extra sugar for sweetness, but remember: strawberry jam needs the right balance of sugar to set properly. Too little sugar, and your jam won’t set. Too much, and you might end up with something more like a syrup than a jam.
- Not Enough Pectin: If your jam doesn’t set, it’s often due to not enough pectin. While strawberries naturally contain pectin, it’s usually not enough to gel the jam without added help. If you don’t want to use commercial pectin, you can always try adding apples, which are high in natural pectin.
- Jars and Lids: Make sure your jars are sterilized properly, and the lids fit securely. I’ve had a batch go bad because the lid wasn’t sealed properly. Check, double-check, and then check again. That’s the key to preserving your hard work!
Is Strawberry Jam Healthy?
Well, yes and no. Strawberry jam, like many preserves, is delicious, but it’s also high in sugar. If you’re looking to cut back on sugar, there are a variety of low-sugar and sugar-free pectin options available. But the good news is that strawberry jam does contain some nutritional benefits from the fruit itself: vitamin C, fiber, and antioxidants.
If you’re health-conscious, consider making jam in smaller batches and using it sparingly. You can also experiment with different sweeteners, like honey or maple syrup, though this can affect the texture of the final product.
Popular Opinions on Strawberry Jam
Here are a few different takes from people around the world:
- Tom (USA, Age 45): “I’ve been making strawberry jam for years, but I never really perfected it until I followed a friend’s advice to use a thermometer. Now, my jams have the perfect consistency every time.”
- Maria (Brazil, Age 34): “In Brazil, we make strawberry jam with a lot less sugar than the typical American version. I love the tartness of my jam, and it’s great on bread with a little butter.”
- Jing (China, Age 28): “We don’t often make jams in China, but I tried this recipe, and it’s now a hit with my family. They love how sweet and fresh it tastes, though I used a bit less sugar.”
- Anita (South Africa, Age 56): “I enjoy the process of making strawberry jam—it brings back memories of my mother. I also like to add a touch of cinnamon for a twist. It’s perfect for our winter months.”
- Carlos (Spain, Age 60): “I’ve tried all sorts of jams, but strawberry is still my favorite. I keep it traditional with minimal ingredients. You can’t beat the flavor of fresh strawberries, sugar, and a bit of lemon.”
Conclusion
Making strawberry jam might seem intimidating at first, but once you’ve mastered the basics, it becomes a rewarding, almost therapeutic, process. Whether you’re making it for yourself or giving it as a gift, the result is always satisfying. Keep these tips in mind, experiment a little, and you’ll be enjoying your own homemade jam for months to come!
Happy jam-making!


