
Making gluten-free bread isn’t just a fad; it’s a necessity for many. Whether you have celiac disease, a gluten intolerance, or you’re just trying to be more mindful of what goes into your body, gluten-free bread can be a lifesaver. The good news is that you don’t have to settle for dry, crumbly loaves anymore. With the right ingredients and techniques, you can make gluten-free bread that is as light, airy, and delicious as its gluten-filled counterparts.
Let’s dive into everything you need to know, from the science behind gluten-free baking to troubleshooting common issues and making your bread taste fantastic.
Understanding Gluten-Free Bread
Before you start baking, it’s important to understand what you’re working with. Gluten is a protein found in wheat, barley, and rye that gives dough its structure and elasticity. This is why traditional wheat bread rises and holds together so well. Without gluten, bread can become dense and crumbly, so we need to rely on other ingredients to do the job.
What You Need for Gluten-Free Bread:
- Gluten-Free Flour Blend: The key to a good gluten-free loaf is a quality flour blend. Many commercial flour mixes contain a combination of rice flour, potato starch, and tapioca flour, which mimic the elasticity gluten provides. But be warned—substituting straight rice flour for wheat flour won’t work! You need a blend of ingredients to balance texture, flavor, and moisture.
- Xanthan Gum or Guar Gum: These are used to mimic the binding properties of gluten. They help your bread rise and give it structure. You can skip them in some recipes, but in most cases, they’re essential.
- Baking Soda or Baking Powder: These help to provide leavening, allowing the bread to rise. Some gluten-free breads need more help than others, so don’t be afraid to double-check your recipe’s instructions on this.
- Yeast: The most common leavening agent for gluten-free bread, yeast is what gives the bread its airy texture. Some gluten-free breads use alternative leavening agents, but yeast remains a go-to in most recipes.
- Hydration: Gluten-free bread dough is often wetter than its wheat-based counterpart. This is because gluten-free flour absorbs more liquid than wheat flour. Be prepared to add extra water or milk (dairy or non-dairy) to get the right dough consistency.
Ingredients in Detail: What Works Best
Not all gluten-free ingredients are created equal. Different types of flours, starches, and gums each play a role in making your bread successful. Here’s a quick breakdown:
- Rice Flour: The most common gluten-free flour, it’s light and gives bread a soft texture.
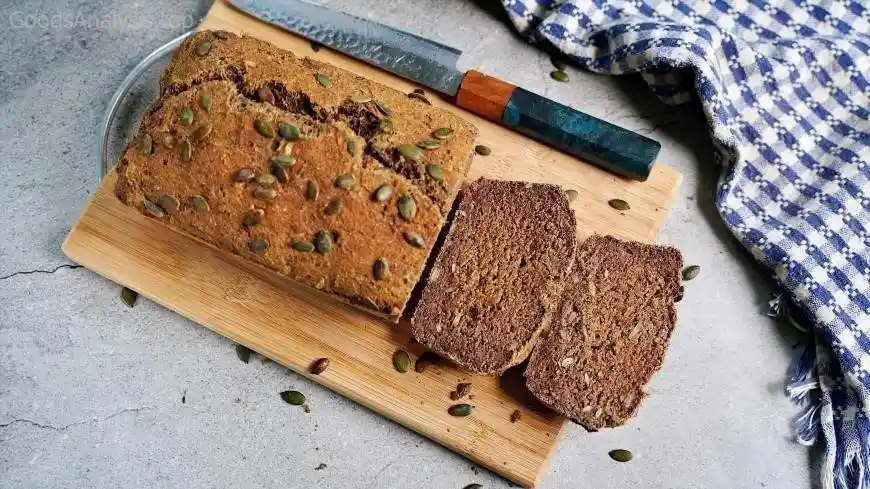
- Sorghum Flour: Adds protein and fiber, contributing to the bread’s structure.
- Tapioca Flour/Starch: Helps with moisture retention and gives a chewy texture.
- Potato Starch: Adds lightness and fluffiness to the bread.
- Chickpea Flour: High in protein, chickpea flour adds a hearty texture.
- Teff Flour: A good source of iron and protein, it’s often used in gluten-free bread to add an earthy flavor.
Experimenting with these flours and starches will help you find the perfect combination for your taste and texture preferences.
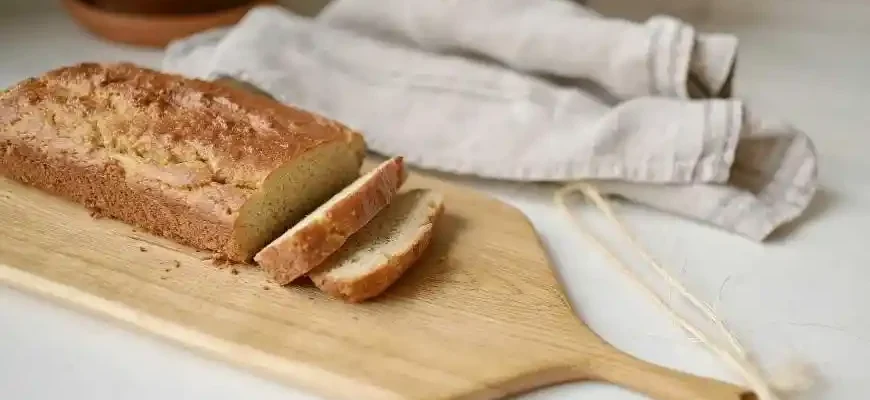
The Basic Gluten-Free Bread Recipe
This recipe will give you a simple, no-fuss loaf that’s easy to make and, most importantly, delicious. I’m keeping it simple, but once you get the hang of things, you can start adding your personal flair (herbs, seeds, dried fruits, etc.).
Ingredients:
- 2 cups gluten-free all-purpose flour (you can use a store-bought blend or make your own)
- 1 cup warm water (about 110°F)
- 1 tablespoon active dry yeast
- 1 tablespoon honey or sugar (to feed the yeast)
- 1/2 teaspoon salt
- 1 tablespoon olive oil or melted butter
- 1 teaspoon xanthan gum (if your flour blend doesn’t already include it)
Instructions:
- Activate the Yeast: In a bowl, mix the warm water, yeast, and honey or sugar. Let it sit for 5-10 minutes until it becomes foamy. This shows the yeast is active and ready to work its magic.
- Mix the Dry Ingredients: In a large bowl, whisk together the gluten-free flour, salt, and xanthan gum (if needed). Make sure they are well combined.
- Combine Wet and Dry: Add the foamy yeast mixture and olive oil (or butter) to the dry ingredients. Stir to combine. The dough will be much wetter than typical bread dough, almost like a thick batter.
- Let It Rise: Transfer the dough to a greased loaf pan and cover with a damp towel. Let it rise for 45-60 minutes, or until it has doubled in size. It may not rise as much as wheat bread, but it should still puff up.
- Bake: Preheat the oven to 375°F (190°C). Bake the bread for 30-35 minutes, or until the top is golden brown and the bread sounds hollow when tapped.
- Cool: Allow the bread to cool completely before slicing. This is crucial to avoid a soggy loaf—gluten-free bread needs time to firm up!
Troubleshooting Common Issues
- Dense or Heavy Bread: This can happen if the flour blend doesn’t have enough structure. Try adding a bit more xanthan gum or guar gum, and make sure you’re using a good combination of flours. Sometimes, adding an extra egg or two helps with lift as well.
- Crumbly Texture: If your bread falls apart easily, it might need more moisture. Don’t be afraid to add more liquid next time, but make sure not to go overboard—aim for a wet, sticky dough, not a runny batter.
- Yeast Doesn’t Rise: This could be because the water was too hot or too cold, or the yeast might be expired. Always check the temperature of the water and test your yeast by letting it foam before mixing it with the dry ingredients.
- Flavors Don’t Work: Gluten-free flour blends can sometimes impart a slightly bitter taste, especially if they contain rice flour or sorghum. To counter this, try adding a tablespoon of apple cider vinegar or a squeeze of lemon juice. You can also use flavored oils (like rosemary-infused olive oil) to make the bread taste fresher.
From the Community: Real-Life Opinions
- Sofia, 32, Spain (Celiac Disease):
“I’ve been gluten-free for over 5 years, and I can tell you, this recipe works! At first, I was skeptical about the texture, but with the right flour mix and a good rise, it comes out just like a loaf of real bread. It’s been a game-changer for me.” - Joe, 55, USA (Gluten Sensitivity):
“I’ve tried so many gluten-free bread recipes, but this one is by far the most reliable. The bread has a nice texture, and it holds up well for sandwiches. Sometimes it’s tricky with the flour, but after some experimenting, I found my perfect blend.” - Aisha, 40, Nigeria (Vegan, Gluten-Free):
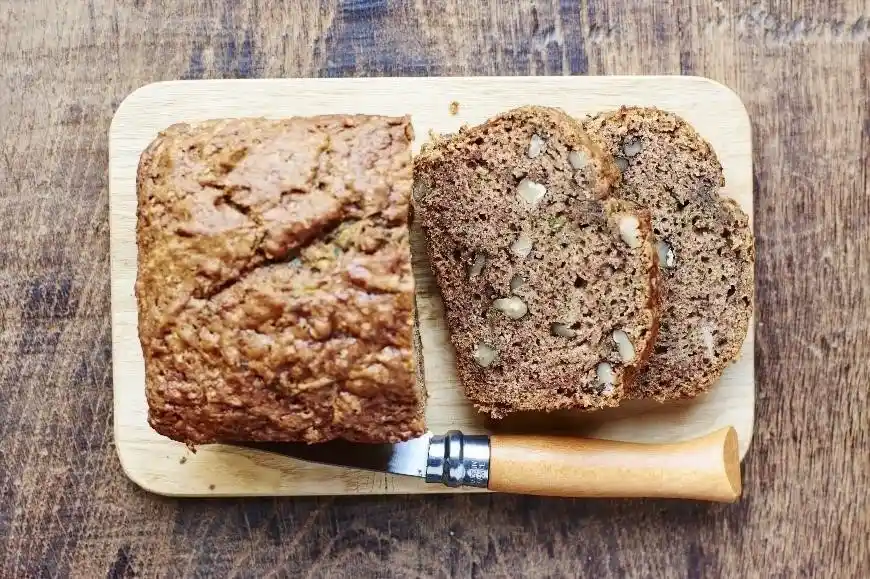
“I love how versatile gluten-free bread can be. It’s not just for people with gluten intolerance—many people I know are using it for weight loss or other dietary reasons. My kids love it, especially when I add a bit of cinnamon and raisins!” - Katsuo, 68, Japan (Wheat Intolerance):
“In Japan, we don’t have many gluten-free options, so I started making my own. This recipe is simple and doesn’t require too many fancy ingredients. The bread comes out great, and it makes me feel like I’m eating something ‘normal’ again.” - Maria, 45, Mexico (Health Conscious):
“I’ve been experimenting with gluten-free bread for a while, and I found this recipe to be a solid starting point. My bread came out a bit dense the first time, but I added a little more oil, and it was perfect. Don’t be afraid to adjust the ingredients as needed!”
Conclusion
Gluten-free bread baking doesn’t have to be daunting. With the right ingredients and a little patience, you can make bread that’s just as good (if not better) than its gluten-filled counterparts. Experiment with different flour blends, adjust your techniques, and don’t be afraid to troubleshoot as you go along.
Remember, the best part about baking your own bread is that you control the ingredients—so you can be sure it’s exactly what you want, free from preservatives and packed with flavor. Happy baking!


