

Making a wreath is a beautiful and rewarding craft, whether you’re preparing for the holidays, celebrating a special occasion, or just adding a bit of charm to your home. Wreaths can be as simple or as intricate as you like, and while the process may seem a bit intimidating at first, it’s really all about creativity and a few basic materials. Whether you’re a beginner or an experienced crafter, this guide will help you create a wreath that will be the perfect touch for your door, wall, or table.
What You’ll Need:
Before we get into the step-by-step process, let’s make sure you’ve got all the right materials. Here’s a list of essentials:
- Wreath Base: You can purchase a pre-made base at a craft store or make your own using a wire frame, grapevine, foam, or straw. A 12- to 16-inch frame is typically ideal for most wreaths.
- Floral Wire: To secure everything in place.
- Hot Glue Gun and Glue Sticks: For attaching decorations that may not be able to be wired.
- Greenery: This could be faux greenery or real branches. Common choices include eucalyptus, fir, pine, boxwood, or ivy.
- Decorative Elements: Bows, dried flowers, ribbons, ornaments, pinecones, berries, and any other personal touches.
- Scissors/Pruning Shears: For cutting floral stems or trimming branches.
- Floral Tape or String: For tying pieces together.
Step 1: Choose Your Style and Theme
A wreath can reflect the season, holiday, or your personal style. Some common themes include:
- Holiday wreaths: Think Christmas or Easter wreaths with seasonal flowers, pinecones, and ornaments.
- Seasonal wreaths: Spring wreaths with fresh flowers, summer wreaths with tropical vibes, fall wreaths with pumpkins and autumn leaves, and winter wreaths with snowflakes or frosted pinecones.
- Minimalistic wreaths: Made with just one type of greenery or a few simple elements for a clean, modern look.
- Boho wreaths: Often feature natural elements like feathers, twigs, and dried flowers.
Step 2: Prepare the Wreath Base
If you’ve bought a pre-made wreath base, you can skip this step. Otherwise, create your base using a wire or foam ring as a foundation.
- Wire wreath base: Take a piece of floral wire, bend it into a circle, and twist the ends together.
- Grapevine base: Simply purchase a pre-made one from a craft store. Grapevine bases are sturdy and give a rustic look.
If you’re going for a more organic vibe, you can also use a straw wreath, which will give a softer, more natural appearance.
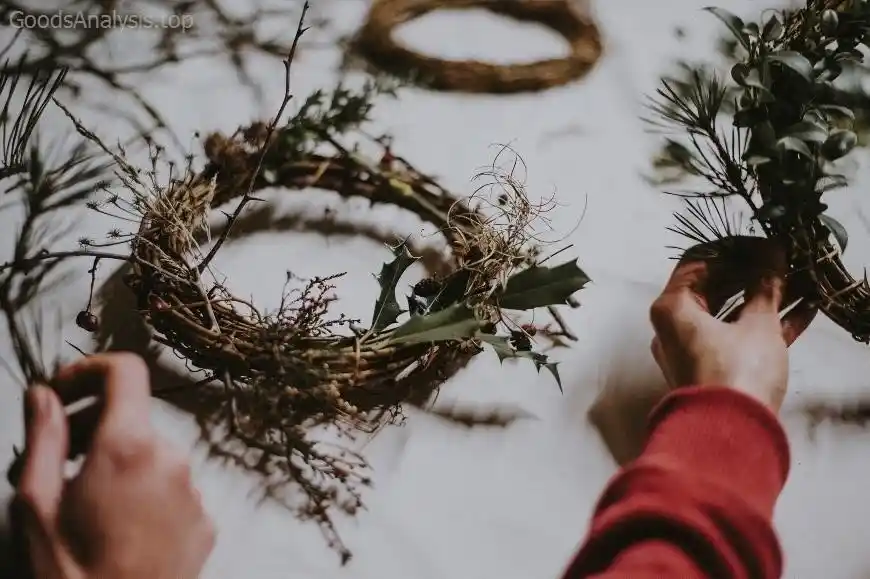
Step 3: Add the Greenery
Start by adding your greenery. You’ll want to begin with larger, heavier pieces and then layer smaller ones on top. Here’s how:
- Cut your greenery into small sections that will fit well onto the base.
- Attach each piece by wrapping floral wire around the stems or gluing them onto the wreath frame.
- Continue layering, slightly overlapping each section to hide the wire and create a fuller look.
If you’re working with real greenery, be aware that it may dry out over time. To prolong its life, you might want to use a preservative or opt for faux greenery.
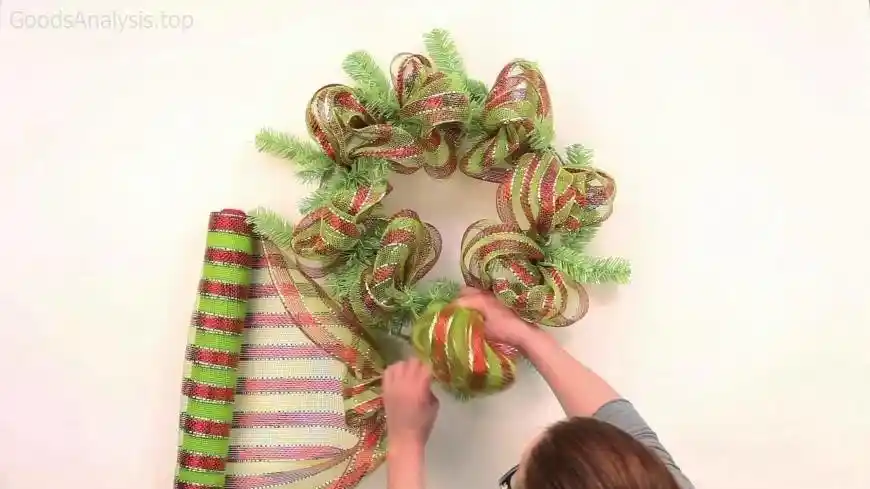
Step 4: Add Decorations
Now for the fun part – adding the decorations! Whether you’re using dried flowers, berries, ornaments, or a big, beautiful bow, make sure to balance out your design. You want to avoid over-crowding the wreath and keep the overall appearance harmonious.
- Flowers: Arrange them symmetrically around the wreath or place them in clusters. If you’re using silk or dried flowers, you can attach them with glue.
- Bows: Use a ribbon to create a large, beautiful bow and attach it at the bottom, top, or wherever you feel it adds balance to your design.
- Pinecones, berries, or other seasonal touches: These can be attached with wire or glue. For an added touch, use glitter or paint to enhance their appearance.
Step 5: Secure Everything
Once your wreath looks the way you want it, make sure all elements are securely fastened. Trim any loose wires and give it a final inspection to ensure everything is neat and tidy.
Step 6: Hang It Up
You can hang your wreath using a hook, a ribbon, or even a decorative wreath hanger. If you’re hanging it on a door, make sure it’s not too heavy for the hook or nail. For added flair, consider adding a small sign or additional ornament to personalize your wreath.
Troubleshooting Common Issues:
While making a wreath can be a fun and rewarding process, there are a few issues you might run into. Here are some of the most common challenges and how to solve them:
- Problem: The wreath looks sparse or uneven.
- Solution: Keep adding greenery and decorations until the wreath looks fuller. Pay attention to balance and symmetry.
- Problem: Real greenery is wilting.
- Solution: Consider switching to faux greenery or spraying your real greenery with a floral preservative. If you’re in a dry climate, try misting your wreath with water once a week.
- Problem: Decorations don’t stay in place.
- Solution: Use more floral wire for sturdier attachment or switch to hot glue if needed. Make sure everything is secured before hanging.
Ideas for Personalization:
Here are a few ways to make your wreath stand out even more:
- Custom colors: Choose a color scheme that matches your home decor or the season.
- Sentimental items: Incorporate something personal, like a family heirloom, a favorite flower, or even a piece of fabric from an old shirt.
- Interactivity: For a wreath that invites touch, use soft, tactile materials like fabric, felt, or pom-poms.
Opinions from Real People:
- Sara, 32, USA: “I’ve always loved making wreaths, especially for Christmas. The best part is that it’s so customizable. I usually go for a natural look with pinecones, berries, and a big red bow. I love how it instantly gives the house a festive feel.”
- Liu, 45, China: “Wreaths are not as common here, but I made one for my friend’s wedding last year. I used a lot of fresh flowers like peonies and roses, and it turned out beautifully. It was a bit challenging to keep everything fresh, but I loved the look of it.”
- Maya, 55, Brazil: “I make wreaths for all occasions, but my favorite is for the fall. I use dried leaves, small pumpkins, and even a few cinnamon sticks for a warm, earthy touch. It’s something I always look forward to doing when the weather starts to change.”
- Tom, 61, UK: “I’ve always appreciated a good wreath. I mostly stick to traditional Christmas wreaths with fir branches and holly, but I’ve been experimenting with adding some dried lavender lately. It gives the wreath a nice scent that lasts through the season.”
- Nina, 29, South Africa: “I made a wreath for the first time last year. I used a mix of succulents and dried flowers, and I was surprised by how easy it was to make. Now I make wreaths for gifts – they’re always a hit!”
Final Thoughts:
Making a wreath is a fulfilling and creative activity that can enhance your home or celebrate a special occasion. While there are endless ways to approach the craft, the key is to have fun, be patient, and take pride in what you create. Whether you go for a minimalist look or fill it up with all the bells and whistles, your wreath will always carry a bit of your personal touch. Happy crafting!


