
Ah, chocolate truffles! Those little balls of decadence, the perfect combination of rich chocolate, smooth cream, and just a touch of creativity. Whether you’re making them for a special occasion, a gift, or just because chocolate is the answer to everything, there’s no denying the allure of these delightful treats. Let’s dive in and explore the art of crafting your own chocolate truffles, from the basics to some advanced techniques—and we’ll even throw in a few expert tips and warnings so you don’t run into any unexpected surprises.
The Basics of Chocolate Truffles
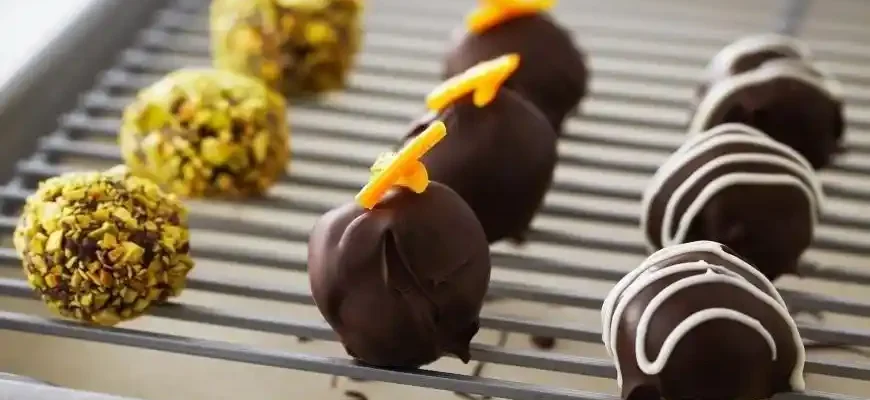
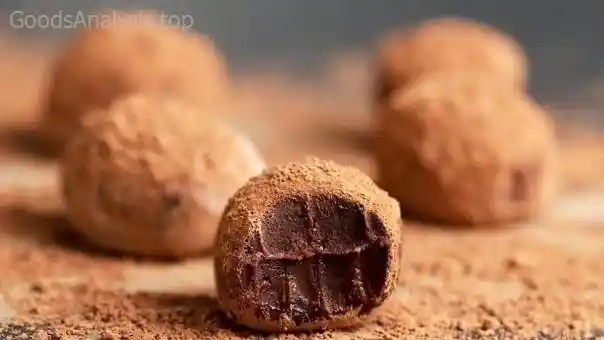
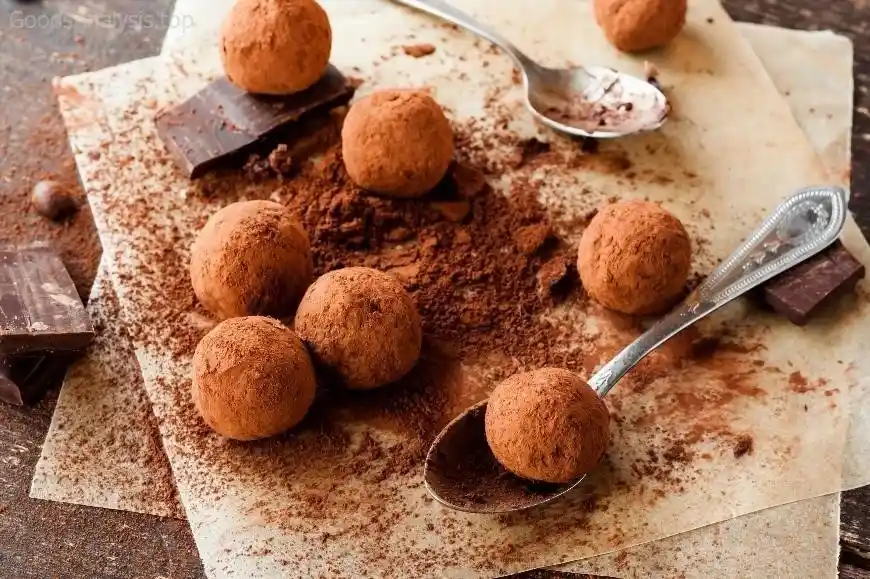
At its core, a chocolate truffle is essentially ganache—chocolate and cream blended together to create a smooth, velvety filling. It can be shaped into little balls, then rolled in cocoa powder, chopped nuts, sprinkles, or any number of coatings. While the traditional truffle was thought to resemble the rare and expensive fungi (also called truffles), modern chocolate truffles come in all shapes, sizes, and flavors.
But don’t be fooled by their simplicity. The technique to make them perfect requires attention to detail, a little patience, and the best ingredients you can find. Let’s break it down:
Ingredients You’ll Need
- Chocolate: The star of the show. Use high-quality chocolate with a cocoa content of at least 60%. Dark chocolate is most common, but milk or white chocolate will work too. For the smoothest truffles, the better the chocolate, the better your truffle will taste.
- Heavy Cream: This is the base of your ganache. The cream adds that silky smooth texture and helps create a shiny finish. Use the highest-fat content cream you can find—lesser-quality cream can affect the consistency.
- Butter (Optional): A tablespoon or two of butter can add richness and gloss to your ganache. If you’re using milk or white chocolate, this is particularly recommended.
- Flavorings: This is where the fun begins. You can add vanilla, cinnamon, sea salt, orange zest, liqueurs (think Grand Marnier, rum, or Baileys), or even chili for a spicy kick. Just be careful not to overdo it; a little goes a long way.
- Coatings: This is entirely up to your imagination. Cocoa powder, chopped nuts, desiccated coconut, sprinkles, or crushed candy—all of these are classic options. You can also get creative with a dip in tempered chocolate for an extra indulgent layer.
Step-by-Step Process
1. Prepare the Ganache
- Chop your chocolate into small pieces. This helps it melt evenly.
- In a saucepan, heat the cream over medium heat until it starts to steam, but don’t let it come to a boil.
- Pour the hot cream over the chopped chocolate and let it sit for about 5 minutes. Don’t stir yet!
- After 5 minutes, gently stir until the chocolate is completely melted and smooth. If you’re adding butter or flavorings, now is the time to stir them in.
2. Chill the Ganache
- Transfer the ganache to a shallow bowl and refrigerate for 1-2 hours, or until firm enough to scoop. Keep an eye on it—it should be firm but not rock-hard.
3. Shape the Truffles
- Once the ganache is firm enough to handle, use a melon baller or teaspoon to scoop out small amounts and roll them into balls with your hands.
- If the ganache is too sticky, pop it back in the fridge for a bit longer.
- Work quickly so the ganache doesn’t melt from your body heat—unless you’re working in a very cool kitchen.
4. Coat Your Truffles
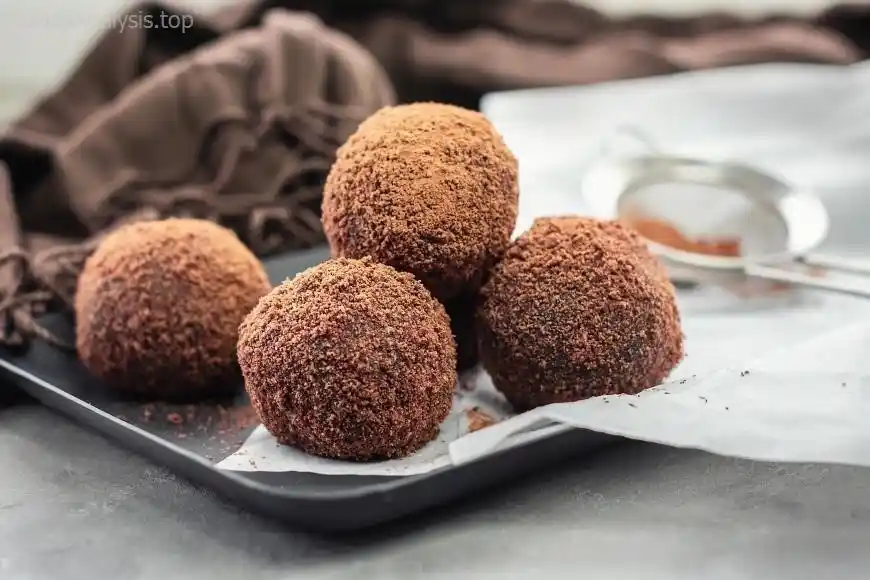
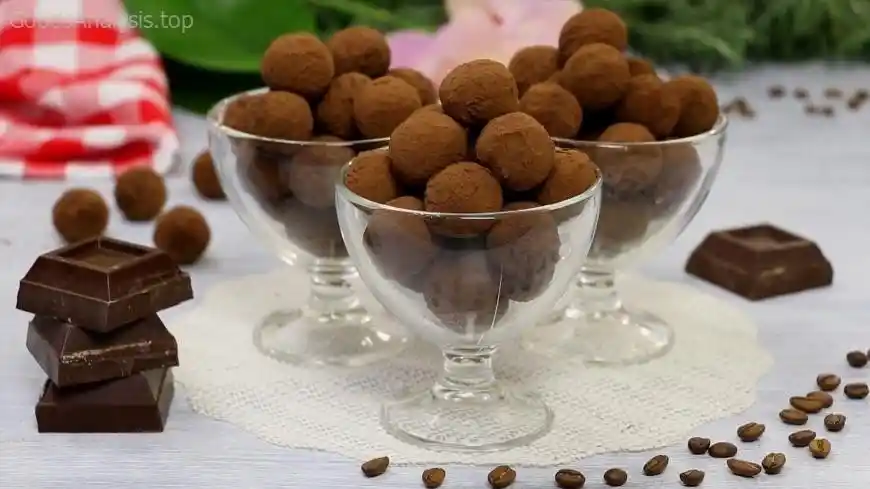
- Roll the ganache balls in your chosen coating—cocoa powder is classic, but crushed nuts or coconut are delicious alternatives.
- For a smoother finish, dip your truffles in tempered chocolate and allow them to set before handling.
5. Storage
- Store your truffles in an airtight container in the fridge for up to two weeks. Let them come to room temperature before serving to enhance the flavor.
Pro Tips to Make Perfect Chocolate Truffles
- Quality Matters: As mentioned earlier, the quality of your chocolate will dictate the final flavor. Opt for a premium dark chocolate (around 70% cocoa) for rich, intense truffles.
- Keep it Cool: If your truffles start to melt while you’re shaping them, just stick them back in the fridge for 15 minutes to firm up. This ensures they stay perfectly round and not a melty mess.
- Tempering Chocolate: For a professional finish, temper your coating chocolate before dipping the truffles. This gives the truffles a shiny finish and helps them harden properly.
- Flavor Combinations: Experiment with flavorings like mint extract, raspberry purée, or even herbs like rosemary. Just remember that a little flavor goes a long way—start small and adjust as needed.
Potential Pitfalls and How to Avoid Them
While chocolate truffles are relatively simple to make, there are a few common mistakes that can trip up even the most experienced bakers. Here’s a quick rundown of what to avoid:
- Chocolate Not Melting Smoothly: If your chocolate seizes up (turns gritty or clumpy) when mixing with cream, it’s likely that the cream was too hot or the chocolate wasn’t chopped finely enough. If this happens, try whisking in a little bit of warm milk or cream to smooth it out. If all else fails, don’t be afraid to rescue it with some melted butter.
- Too Soft or Too Hard Ganache: If your ganache is too soft to roll, it’s a sign it needs more chilling time. If it’s too hard, gently warm it up in the microwave for 5-second intervals and stir to soften it. Don’t overheat, though—this can affect the texture.
- Melting Hands: If you live in a warm climate or your hands are on the warm side, your truffles may become sticky when rolling them. Keep a bowl of cold water nearby to dip your hands into when necessary.
Different Perspectives on Chocolate Truffles
Here are a few opinions from people across the globe about chocolate truffles—because let’s face it, everyone has a unique take on chocolate!
- Emily, 28, USA: “I make truffles for every holiday, and they’re always a hit. I love to experiment with different flavorings—recently tried adding a dash of sea salt and it made the chocolate pop. Just make sure you’re using high-quality chocolate or it can taste too waxy.”
- Ahmed, 45, Egypt: “I tried making truffles for the first time last year as a gift for my wife. It was easier than I thought! But you need to keep an eye on the temperature of the cream—too hot and the chocolate can seize.”
- Sofia, 60, Spain: “In my family, chocolate truffles are a Christmas tradition. I always add a bit of rum to mine, and the adults love it! Sometimes I use crushed almonds as a coating. Just don’t use too much rum or it can overpower the chocolate.”
- Li Wei, 34, China: “I’m more into white chocolate truffles—so creamy and delicate. For a fun twist, I add matcha powder to the ganache. It’s a real crowd-pleaser at parties!”
- Maria, 72, Brazil: “I make truffles for my grandchildren every year. They love when I dip them in cocoa powder, but I prefer to roll them in crushed nuts. It adds a nice crunch and makes them a bit more elegant.”
Conclusion
Chocolate truffles may seem simple, but the joy they bring is anything but. With the right techniques and a little creativity, you can make truffles that rival the finest chocolatiers. And while there may be a few pitfalls along the way—sticky hands, over-chilled ganache, or a flavor combo gone wrong—don’t let that discourage you. The beauty of truffles lies in their versatility and the personal touch you bring to each batch.
Whether you’re making truffles for yourself or for loved ones, you’re crafting a little piece of edible art. So, get out your best chocolate, roll up your sleeves, and dive into the world of homemade truffles. You’ll be a chocolate truffle expert before you know it!


