
Drawing mountains can be one of the most rewarding and therapeutic artistic endeavors, whether you’re sketching for relaxation or planning an intricate landscape masterpiece. Mountains have an almost magical way of stirring emotions – they represent strength, permanence, and beauty in both their majestic peaks and the quiet valleys below. But how do you bring these massive natural structures onto a piece of paper or canvas?
If you’re over 50, you’re likely already familiar with many aspects of life’s landscapes, both literal and metaphorical. Whether you’ve traveled through mountains, hiked their trails, or simply gazed at them from afar, you’re equipped with a wealth of visual memory and emotional connection to these grand landforms. This guide will walk you through the process of drawing mountains, drawing on scientific, practical, and artistic insights.
Let’s dive into it.
Step 1: Understanding the Structure of Mountains
Before you begin drawing, it’s important to understand the basic structure of a mountain. Mountains aren’t just tall, rocky bumps in the earth – they’re complex, layered systems made up of rock, snow, vegetation, and water.
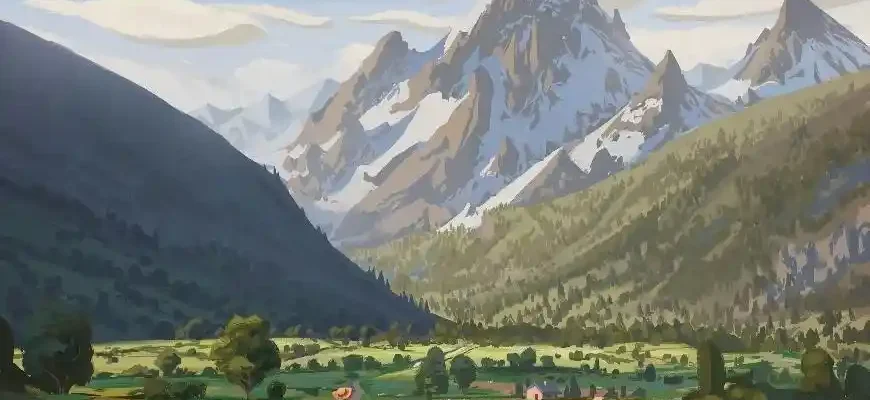
- Topography: Think about the layers of a mountain – the jagged ridges, the smooth slopes, the rugged peaks, and the valleys that carve between them. Mountains often appear to have a variety of textures, from smooth grassy slopes to craggy, rock-strewn faces.
- Snowcaps and Glaciers: If you’re drawing snowy peaks, remember that snow accumulation often happens at the highest altitudes, with glaciers carving deep grooves into the surface over time.
- Vegetation: The lower slopes may have trees, shrubs, and even grasses. As you move higher, the vegetation thins out, transitioning into rocks and snow.

The beauty of mountains lies in their diversity—a characteristic you’ll want to capture in your artwork.
Step 2: Start with Basic Shapes
Begin by sketching out the basic shapes. No need to start with intricate details; instead, focus on the broad outlines and slopes that make up the overall mountain range.
- Triangles and Peaks: Draw a simple triangle to represent a peak. The sharper the angle, the more jagged your mountain will look. For gentler mountains, use a rounder shape.
- Inclines and Slopes: Remember, mountains aren’t just pointy; they have long, sloping sides. Draw a few angled lines extending from your peak to represent these slopes. Keep in mind that mountains rarely have perfectly symmetrical sides.
Step 3: Add Depth and Perspective
One of the challenges of drawing mountains is giving them a sense of depth and realism. To do this:
- Use Lighter and Darker Shades: Mountains often look darker on one side (the shadowed side) and lighter on the other (the sunlit side). Using shading techniques, you can mimic the effect of sunlight hitting the slopes. Start shading in broad strokes, and then add finer detail in the shadows.
- Texture: Add texture to the surface of your mountain. You could use hatching or cross-hatching techniques to give the surface a rocky texture. Use curving lines to depict rolling hills or jagged strokes for rocky outcrops.
- Foreground, Midground, and Background: Mountains have a sense of perspective that’s critical to their depiction. Draw smaller mountains or hills in the distance to show depth and use larger, more detailed mountains in the foreground. The closer the mountains are, the more detail you should add.
Step 4: Adding Details
Once you have the basic shapes and shading down, it’s time to focus on the finer details that bring your mountains to life.
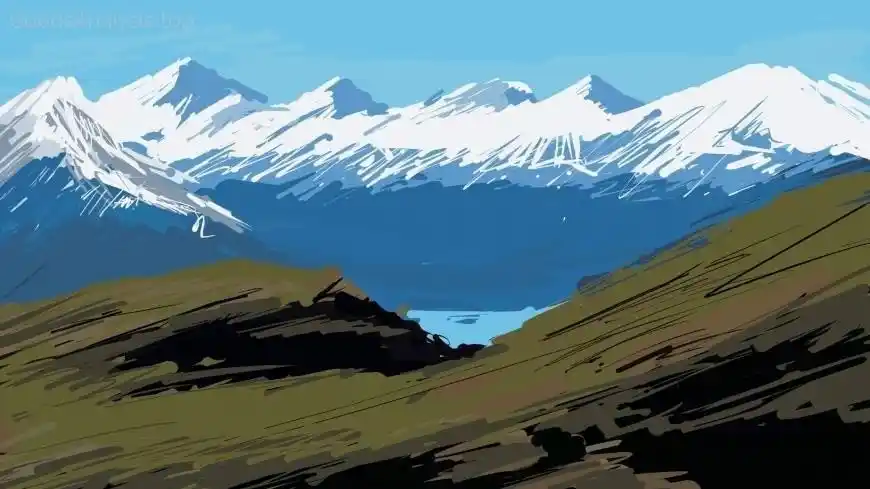
- Rocks and Crags: Most mountains, especially in the higher altitudes, are filled with jagged rocks and craggy outcrops. Draw small irregular shapes along the slopes to represent these rock formations. Vary the sizes and shapes to give the impression of randomness.
- Snow and Ice: If you’re depicting snowy peaks, pay attention to how snow settles on the slopes. Snow will cling to the windward side of a peak, and it will be more patchy on the leeward side. Draw these snow patches with soft, sweeping lines to contrast with the harsh jaggedness of the rocks beneath them.
- Vegetation and Trees: Add trees and vegetation to the lower parts of your mountain. Use small, triangular shapes for conifers (pine trees), and broader strokes for deciduous trees. Remember, the higher the altitude, the sparser the vegetation will be.
Step 5: The Sky and Atmosphere
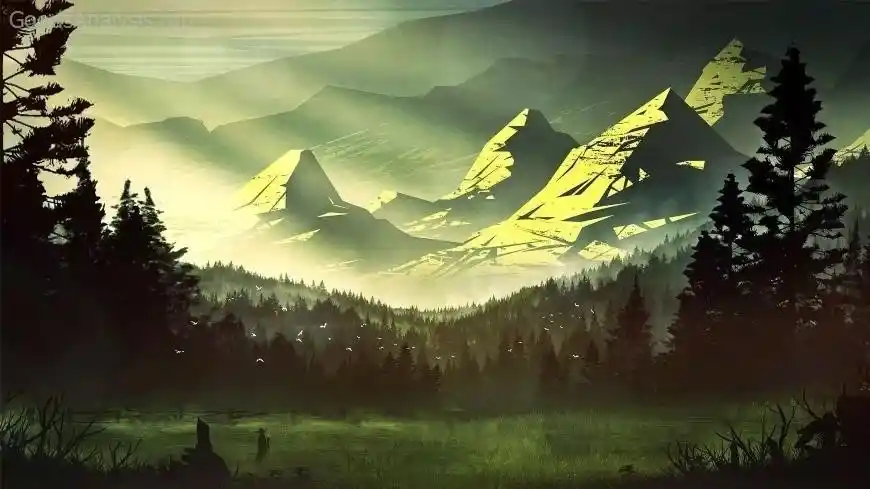
Mountains don’t exist in a vacuum. The surrounding environment can play a crucial role in how your mountains appear. Depending on the mood you want to evoke, you can choose a number of atmospheric techniques.
- Clouds and Weather: If you want to convey a sense of drama, use large, swirling clouds around the peaks. Stormy clouds can give the mountain a foreboding and powerful presence.
- Sunlight and Shadows: The quality of light can change the entire feel of your mountain scene. Early morning or late afternoon sunlight will cast long shadows, giving the mountain range a softer look. If you want to convey midday, the light will be harsher and the shadows more defined.
Step 6: Final Touches
To finish your mountain drawing, zoom in on the finer details. Look at your shadows and highlights, and adjust them for contrast. Clean up any smudges or unnecessary lines. If you feel your mountain is still lacking dimension, you can further emphasize the foreground elements to push the mountains into the distance.
Common Mistakes to Avoid
Even experienced artists can stumble when drawing mountains. Here are a few common pitfalls to avoid:
- Too much symmetry: Mountains rarely follow perfect symmetrical lines. They’re unpredictable, and embracing this irregularity will make your drawing feel more natural.
- Lack of depth: Make sure to vary the sizes of elements in your scene. Adding layers and perspectives makes the difference between a flat and a dynamic landscape.
- Flat shading: Mountains are three-dimensional objects, so flat shading can rob your drawing of life. Always add variation in your shading to give the peaks and valleys a sense of volume.
- Over-detailing: It’s easy to get carried away with adding details, but sometimes less is more. Be selective about the details you include to keep the drawing balanced.
Real-World Insights from People on the Subject of Drawing Mountains
- Anna (45, Italy): “I’ve always loved drawing mountains, especially the Dolomites near my home. They are so jagged and imposing, and capturing their texture has been one of the hardest challenges. But once I started paying attention to the way light falls on them, it all clicked.”
- Raj (58, India): “As someone who spends a lot of time in the Himalayas, I can tell you that mountains are as much about atmosphere as they are about rocks and snow. I try to get the mood of the mountain in my drawings. On foggy days, the mountain almost disappears. On clear days, it feels alive.”
- Lily (30, USA): “When I first started drawing mountains, I struggled with perspective. I was always trying to make the farthest peaks the same size as the ones in the foreground. It wasn’t until I realized that things in the distance are smaller that my mountains started looking more realistic.”
- Josef (67, Germany): “I’ve drawn countless mountains, but it’s the way you depict the terrain that matters most. You can’t just throw in some snow on top of a hill and call it a mountain. You need to understand how the weather shapes the mountain and where the shadows fall.”
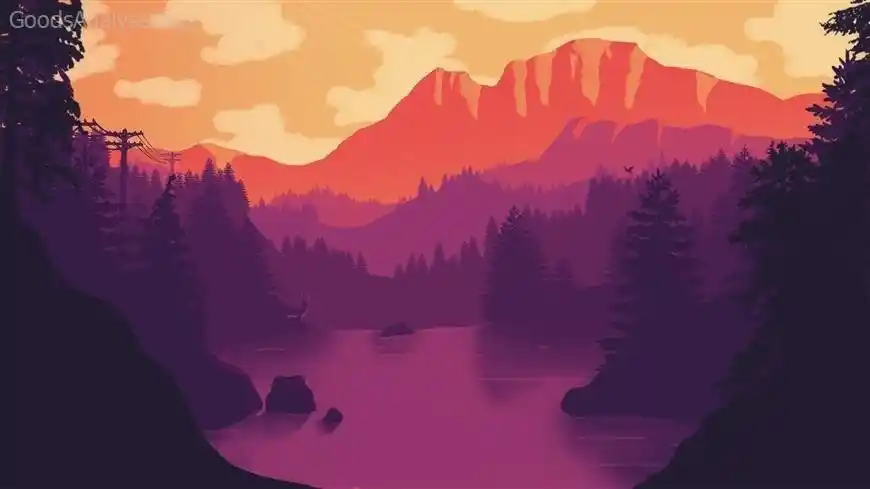
- Hannah (22, Australia): “My approach to mountain drawing is more abstract. I try to capture the feeling of the landscape, the grandeur of the peaks, and how they make me feel. I love playing with color gradients and forms rather than just aiming for hyper-realism.”

Conclusion
Drawing mountains is an art form that requires both technical skill and a deep connection to the landscape. Whether you’re a seasoned artist or a beginner, taking the time to understand the basic principles of mountain structure, light, and texture can elevate your artwork significantly. Remember, it’s not just about the jagged peaks or snowcaps, but about conveying the powerful presence of these natural giants.
So grab your sketchbook, find a quiet corner, and let the mountains inspire you. Happy drawing!


