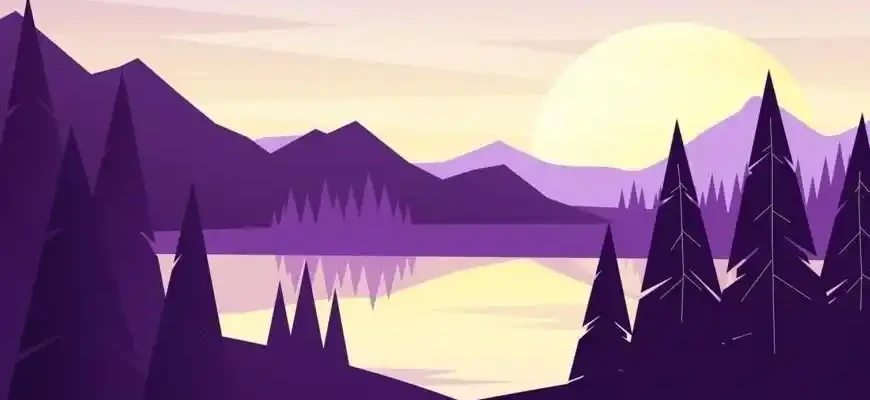
Drawing landscapes can seem like a daunting task, but it’s one of the most rewarding forms of artistic expression. Whether you’re an aspiring artist or someone simply looking to bring a bit of nature to life on paper, this guide will take you step-by-step through the process of capturing the beauty of the world around you. I’ll cover everything you need to know—from the basic techniques to the important elements you need to consider—and share insights from various perspectives. So, let’s dive in!
The Basics of Landscape Drawing
At its core, landscape drawing is about observing and interpreting the world outside your window, using lines, shapes, and shading to recreate nature. However, it’s not just about copying what you see. It’s about capturing the mood, the atmosphere, and the story the landscape tells. Here’s how to approach it:
Step 1: Observation is Key
Before you even pick up a pencil, take time to study the landscape in front of you. Whether you’re drawing a forest, a beach, a city skyline, or a mountain range, spend a few minutes observing how the elements of the scene interact. Look at the shapes, the shadows, and the way light plays on the surfaces. Is the sky clear, or is there a dramatic storm brewing? This helps you decide what elements to emphasize in your drawing.
Tip: Take a photo if you’re drawing from nature, but don’t rely entirely on it. Photos can flatten the scene, while your eye can capture depth and movement in ways that a camera often cannot.
Step 2: Start with Basic Shapes
Before diving into details, break the landscape down into simple geometric shapes. This is a foundational principle in drawing, regardless of the subject. Mountains might look like triangles, trees might be ovals, and houses could be rectangles. This approach helps you map out the scene proportionally, ensuring everything fits on your paper.
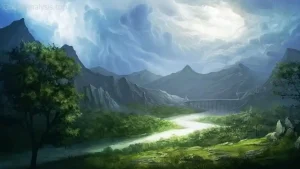
Tip: Use light, faint lines for these shapes at first. You can refine them later.
Step 3: Focus on Composition
Composition is the arrangement of elements in your artwork, and in landscape drawing, it’s crucial to create balance. Think about the Rule of Thirds, where you divide the image into nine equal sections and place focal points along the lines or at intersections. For example, if you’re drawing a sunset, you might want the horizon line to sit on the lower third of your page, leaving more room for the sky.
Step 4: Add Detail Gradually
Once you’ve established the structure and composition, start adding details gradually. Begin with the larger elements like mountains or trees and work your way toward smaller features like individual leaves, rocks, or the texture of the water. This layering technique creates a sense of depth, allowing the details to emerge without overwhelming the drawing.
Tip: Use varied line thicknesses to add depth. Thicker lines can indicate elements in the foreground, while thinner lines suggest those further away.
Step 5: Shading and Texture
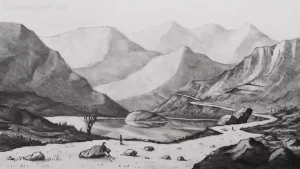
Shading brings your landscape to life by adding depth and dimension. Study how light interacts with the scene. The areas where light falls directly will be lighter, while the shadowed areas will be darker. Use hatching (short, parallel lines) or cross-hatching (intersecting lines) to represent these areas.
Tip: For natural textures, try smudging with your finger or a blending stump to achieve a softer, more realistic effect. Don’t be afraid to experiment!
Common Mistakes and How to Avoid Them
- Overloading the Drawing with Detail: It’s easy to get lost in the intricacies of nature, but excessive detail can sometimes clutter your work. Start simple, and don’t be afraid to leave some areas open or vague to allow the eye to rest.
- Ignoring the Horizon Line: If your horizon line is too high or too low, it can throw off the sense of scale in your drawing. Keep it grounded by placing it at the right level for the type of scene you want to capture. Remember: the horizon dictates the spatial relationship between land and sky.
- Inconsistent Lighting: Lighting is critical in creating a believable landscape. Make sure that the light source—whether it’s the sun, moon, or artificial light—remains consistent throughout the drawing. Mixed lighting can make your scene look unnatural.
- Overcomplicating Color in Sketches: If you’re using color, don’t worry too much about getting it “perfect.” Use it to enhance your drawing, not to make it more complex. Start with shades of gray or sepia in your sketch, and add color later in layers, keeping it subtle.
- Forgetting Atmospheric Perspective: Things farther away in a landscape will appear lighter and less detailed than those up close. This is an important technique to capture the depth of the scene.
Advanced Techniques for Landscape Artists
Once you’ve got the basics down, it’s time to expand your skill set. Advanced landscape artists often play with more sophisticated techniques, such as:
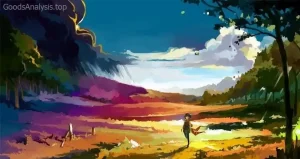
- Using Color Theory: Colors can greatly affect the mood of your landscape. A warm palette of oranges and yellows can create a sense of warmth and calm, while cooler blues and purples can evoke a feeling of tranquility or melancholy. The time of day also impacts color—sunrise and sunset have a distinctly different feel from midday light.
- Weather Effects: Adding elements like rain, fog, or snow can completely transform the atmosphere of your landscape. Learn to depict different weather effects through texture and tone to add drama to your scenes.
- Experimenting with Mixed Media: Try combining pencil, ink, watercolors, or pastels. Using multiple mediums allows you to bring a landscape to life in different ways, with each tool contributing its own unique quality.
Drawing Landscapes from Different Perspectives
Sometimes the best way to learn a new approach to landscape drawing is by experimenting with different points of view. Here are a few unique perspectives you can try:
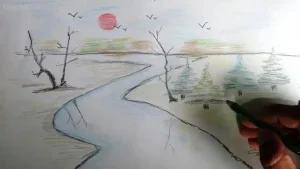
- Bird’s-eye view: Looking at a landscape from above can provide a fresh and dramatic perspective. This viewpoint works particularly well for urban landscapes or large open fields.
- Low-angle view: Looking up at the trees, mountains, or sky from the ground can create a sense of grandeur and scale.
- Wide-angle view: Expanding your horizon by including more of the scene can make your landscape appear vast and expansive. It’s great for capturing panoramic vistas or dramatic skies.
Real World Experiences: Opinions on Landscape Drawing
Here’s what a few different individuals from around the world think about landscape drawing:
- Marie, 60, Paris, France
“I find that landscape drawing is not just about replicating nature. It’s an exercise in mindfulness. When I’m drawing, I feel at peace, and it gives me a deeper appreciation of the outdoors. Even after years of practice, I’m always learning something new.” - Carlos, 34, São Paulo, Brazil
“For me, landscapes are a way of showing the relationship between humans and nature. Whether it’s a bustling cityscape or a quiet rural setting, I focus on the way the elements interact with each other. It’s about balance and perspective.” - Alicia, 25, Toronto, Canada
“I struggle with perspective, honestly. It’s something I’m still working on, but I’ve found that using tools like a ruler or reference lines has helped. I like to draw from photographs because I can capture different lightings and seasons.” - Ali, 47, Cairo, Egypt
“In our culture, landscapes often represent more than just the physical world—they tell a story. Whether it’s the vast desert or the Nile River, every scene has a deep cultural meaning, and that’s something I try to capture when I draw.” - Tariq, 58, New Delhi, India
“Drawing landscapes is more than just technique; it’s about capturing the emotion and mood of a place. I’ve done a lot of work with watercolors, and I find they allow me to create atmosphere and light in a way that pencil sketches can’t.”
Final Thoughts
Drawing landscapes is a journey of discovery. You might find it difficult at first, but as you practice, you’ll begin to understand how light, space, and texture work together to create the world we see. Remember to observe, simplify, and gradually build up the complexity of your drawings. Above all, enjoy the process. After all, art is as much about the journey as the final product. Happy drawing!
FAQ
Q: What is the easiest way to start drawing landscapes?
A: Start with simple shapes and focus on getting the composition right. Once you’ve mastered basic forms, gradually add detail.
Q: Should I use color when drawing landscapes?
A: You can, but start with grayscale sketches. Once you’re comfortable with shapes and shading, experiment with color.
Q: How do I practice perspective in landscapes?
A: Use reference points and horizon lines to guide you. Try drawing simple shapes in perspective first, then work your way up to complex landscapes.

