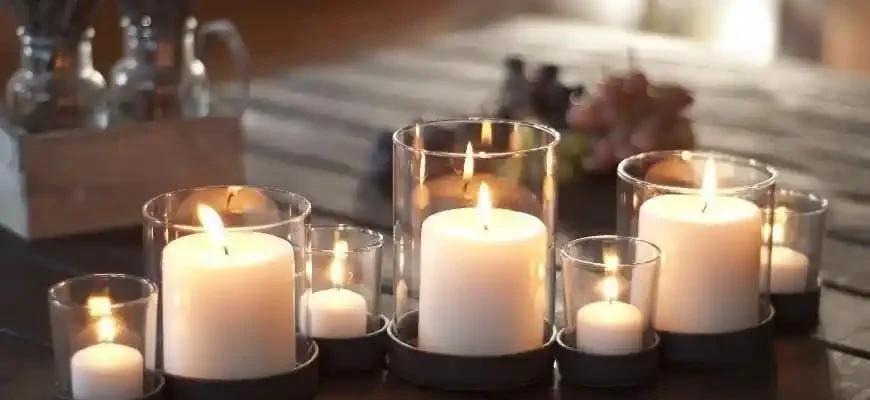
Making your own candles is a fun, creative, and therapeutic hobby that’s been around for centuries. Whether you’re looking to add a personal touch to your home décor, create gifts for loved ones, or simply enjoy the calming process of candle-making, this guide will walk you through the essential steps, materials, and techniques. We’ll also explore some potential issues that could arise and provide advice on how to avoid them.
Why Make Your Own Candles?
Before we get into the details, let’s address the “why” of candle-making. Candles are an integral part of many cultures and are often used to set a mood, create a cozy atmosphere, or even to purify the air. Making your own candles allows for full customization. You can choose the scents, colors, and shapes that best suit your style, and you can also ensure the candles are made from high-quality, non-toxic ingredients. Plus, who doesn’t love the idea of a handcrafted product that carries a personal touch?
But, like any craft, candle-making has its challenges. Don’t worry – by the end of this guide, you’ll know how to avoid the common pitfalls and make candles that both you and your friends will love.
What You’ll Need
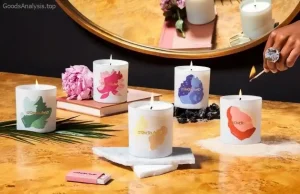
- Wax
The foundation of any candle. There are several types of wax, each with its own characteristics:
- Paraffin Wax: The most common type of wax, cheap and easy to work with but not the most eco-friendly option.
- Soy Wax: A renewable resource that burns cleaner and longer than paraffin. It’s a good choice for beginners.
- Beeswax: Natural, with a pleasant honey-like scent. It’s more expensive but burns slowly and cleanly.
- Palm Wax: Another natural option, made from palm oil, but it has been criticized for environmental concerns related to deforestation.
- Wicks
Wicks come in various materials, including cotton, wood, and hemp. The wick’s size should correspond to the candle’s size. A wick that’s too small for the candle won’t burn well, and one that’s too large may cause the candle to burn too quickly or produce excess soot. - Fragrance Oils
Adding fragrance to your candles can create an inviting atmosphere. There are hundreds of scents to choose from, ranging from floral to woodsy to fruity. However, some fragrance oils can interfere with the burning of the candle, so it’s crucial to choose ones designed specifically for candle-making. - Dye
Dyes allow you to color your candles, but be mindful that not all dyes are safe for all wax types. Always check the compatibility with the wax you’re using. - Container or Mold
Whether you’re making pillar candles, jar candles, or shaped candles, the container or mold you use will impact the final result. If you’re using a container, make sure it’s heat-resistant. - Double Boiler
A double boiler setup is necessary for melting the wax. You can also use a microwave, but the double boiler offers better control over temperature, which is important when working with certain types of wax. - Thermometer
A thermometer will help you monitor the temperature of the wax as it melts and ensure it’s at the right level for adding fragrance or pouring into molds.
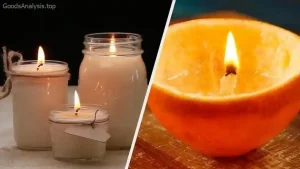
Step-by-Step Candle-Making Process
- Prepare Your Work Area
Make sure your space is clean and well-ventilated, especially if you’re working with fragrance oils that can be overpowering. Lay down newspaper or protective sheets to catch any spills. - Melt the Wax
Cut your wax into small chunks and place it into your double boiler. Heat the wax slowly, stirring occasionally. If you’re using a thermometer, the ideal melting temperature is around 170°F (77°C), but this can vary depending on the type of wax. - Add Fragrance and Dye
Once the wax is fully melted, add your fragrance oils and dye (if using). Typically, you’ll want to add about 6-10% fragrance oil to the melted wax, depending on how strong you want the scent. Be sure to stir thoroughly to ensure the fragrance is evenly distributed. - Prepare the Wick
While the wax is cooling to about 140°F (60°C), it’s time to prepare the wick. Attach the wick to the bottom of the container or mold using a wick sticker or hot glue gun. Make sure the wick is centered so it burns evenly. - Pour the Wax
Once the wax reaches the right temperature, carefully pour it into your container or mold. Leave a small gap at the top of the container to allow for any expansion during cooling. - Let It Cool and Set
Allow the candle to cool completely, which can take anywhere from 4 to 6 hours. If you notice any cracks or imperfections, you can top off the candle with a bit more melted wax. - Trim the Wick
Once the candle is fully set and cooled, trim the wick to about 1/4 inch above the surface of the wax. This helps ensure a clean burn.
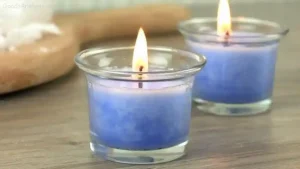
Potential Issues and How to Solve Them
- Frosting on Soy Candles
Soy wax can develop a cloudy appearance or “frosting” as it cools. This is perfectly normal and doesn’t affect the burn quality. If you want to minimize frosting, try adding a little more fragrance oil or use a slower cooling method. - Wick Issues
A wick that’s too small may struggle to stay lit, while a wick that’s too large might cause your candle to burn too quickly and produce excess soot. To fix this, experiment with different wick sizes and types. Wick manufacturers often provide charts to help you choose the right size for your container or mold. - Scent Fading
Overheating the wax can cause fragrance oils to evaporate or lose their strength. To prevent this, never add fragrance oils to wax that’s too hot. Follow recommended temperature guidelines for your wax type. - Candle Cracking or Uneven Burn
If your candles crack or burn unevenly, it could be due to the cooling process or a poorly sized wick. Ensure your candles cool slowly and evenly, and choose the right wick size for your candle’s diameter.
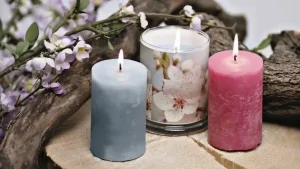
Additional Tips and Tricks
- Batch Size: Start small, especially when trying new techniques or scents. Making small batches gives you more flexibility to experiment without wasting materials.
- Clean Your Equipment: Wax can be tricky to clean off your equipment. Use a paper towel to wipe excess wax from your tools, and then wash them with hot, soapy water.
- Test Burn: Always test a small sample of your candle before making a large batch. This allows you to ensure it burns properly and that the fragrance is strong enough.
Real Opinions on Candle-Making
Here are a few opinions from individuals around the world who have tried their hand at candle-making:
- Emma, 35, UK: “I started making candles as a hobby a few months ago, and I’m hooked! I love how I can make personalized gifts for my friends, but I did struggle at first with wick size. After a few trial and error burns, I found the right one.”
- James, 52, USA: “I’ve been making candles for years. It’s a great way to relax after a busy day. The one thing I always tell people is to invest in good-quality wax – it makes all the difference in the burn and scent.”
- Maria, 28, Mexico: “I was skeptical about making my own candles at first, but I gave it a shot and now I can’t stop. The worst part was dealing with the fumes from some fragrance oils. I switched to all-natural scents, and now I’m happy with the results.”
- Sofia, 45, Italy: “Candles are a huge part of Italian culture. I make them to relax, but I’ve also had a lot of success selling them locally. My advice? Always measure your ingredients carefully – it’s the secret to perfect candles.”
- Liu, 60, China: “I’ve been making candles for over 10 years now. The most important thing I’ve learned is to be patient. If you rush the cooling process, you’ll get cracks, and that’s something you don’t want.”
Final Thoughts
Candle-making is a rewarding craft that combines creativity with practical skills. While there are a few challenges along the way, they’re nothing that a little patience, practice, and the right knowledge can’t solve. Whether you’re making candles for yourself, as gifts, or for business, following the right techniques and using quality materials will ensure your success. Enjoy the process, experiment with new scents and shapes, and most importantly, light a candle at the end to enjoy the fruits of your labor!

