Cleaning a microwave may not be the most glamorous household chore, but it’s one of those tasks that, when done properly, can make a huge difference in your kitchen’s cleanliness, your food’s taste, and even your health. And as someone who’s been around the block a few times, I’ll tell you this: it doesn’t have to be a dreaded task if you know the right way to approach it. Let’s break it down, step by step, and I’ll throw in some pro tips along the way.
Why Cleaning Your Microwave Is So Important
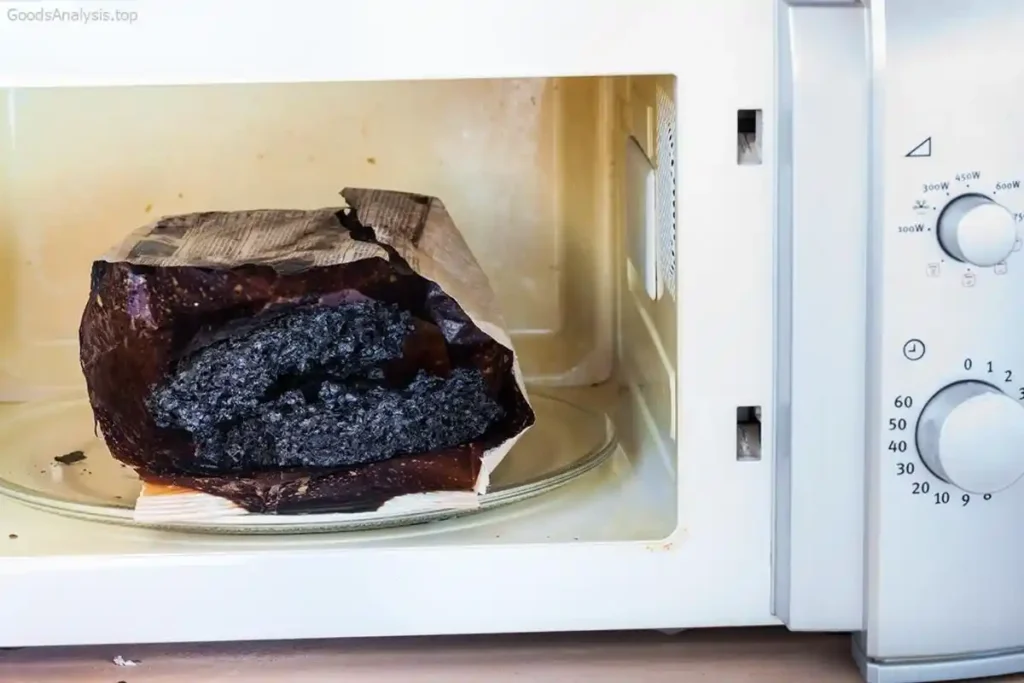
Before we get into the nitty-gritty of cleaning, let’s talk about why you should care. It’s easy to overlook a microwave since it’s hidden behind closed doors, and let’s face it — most of the time, it just “works” without much attention. But over time, food splatters, stains, and even grease can build up inside. Not only does this affect the performance of your microwave, but it can also harbor bacteria and bad smells that could make their way into your food. A clean microwave, however, will not only make your kitchen smell better, it will also help to maintain your microwave’s efficiency and longevity.
Now, let’s dive into how to clean that microwave, shall we?
Step 1: Gather Your Cleaning Supplies
You don’t need a full arsenal of fancy cleaning products here. A few common items will do the trick:
- Water – Yes, simple old H2O is your first weapon.
- Vinegar or Lemon – Either one is great for breaking down stubborn grime.
- Baking Soda – Perfect for scrubbing without being too abrasive.
- Dish Soap – Gentle on surfaces but tough on grease.
- Microfiber Cloth or Sponge – For wiping things down.
Step 2: Clean the Turntable
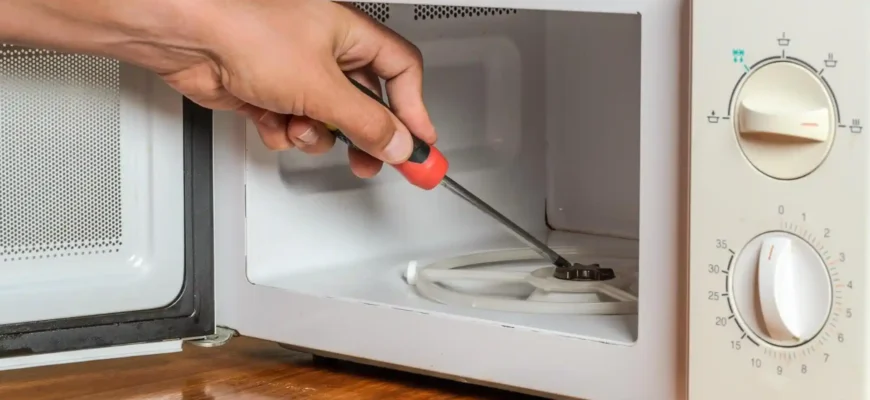
The turntable is one of the first places where you’ll find food particles and grease buildup. It’s often removable, so take it out and give it a good wash with warm soapy water. If it’s too greasy, sprinkle a little baking soda on it, scrub gently, and rinse clean.
Pro Tip: Don’t skip drying the turntable properly. Leaving it wet could lead to water spots or even mold growth over time. Dry it thoroughly before putting it back in.

Step 3: Clean the Inside of the Microwave
Now, let’s tackle the microwave’s interior. There are a few ways to go about this, but I’m going to share one method that’s both effective and simple.
Option 1: Steam Cleaning
This method uses steam to loosen up any stuck-on food or grease. Here’s what you’ll need to do:
- Fill a microwave-safe bowl with 1-2 cups of water.
- Add a tablespoon of vinegar or the juice of half a lemon to the water. The acid helps cut through grease and neutralize odors.
- Place the bowl in the microwave and set it on high for about 5 minutes.
- Leave the microwave door closed for a few more minutes so the steam can do its job.
- Carefully open the microwave and wipe down the inside with a damp cloth. Be sure to wipe all corners, as that’s where gunk tends to hide.
Pro Tip: For stubborn stains, apply a bit of baking soda to a damp cloth and scrub gently. Just make sure you don’t use too much force, or you could scratch the interior surface.
Step 4: Clean the Microwave’s Exterior
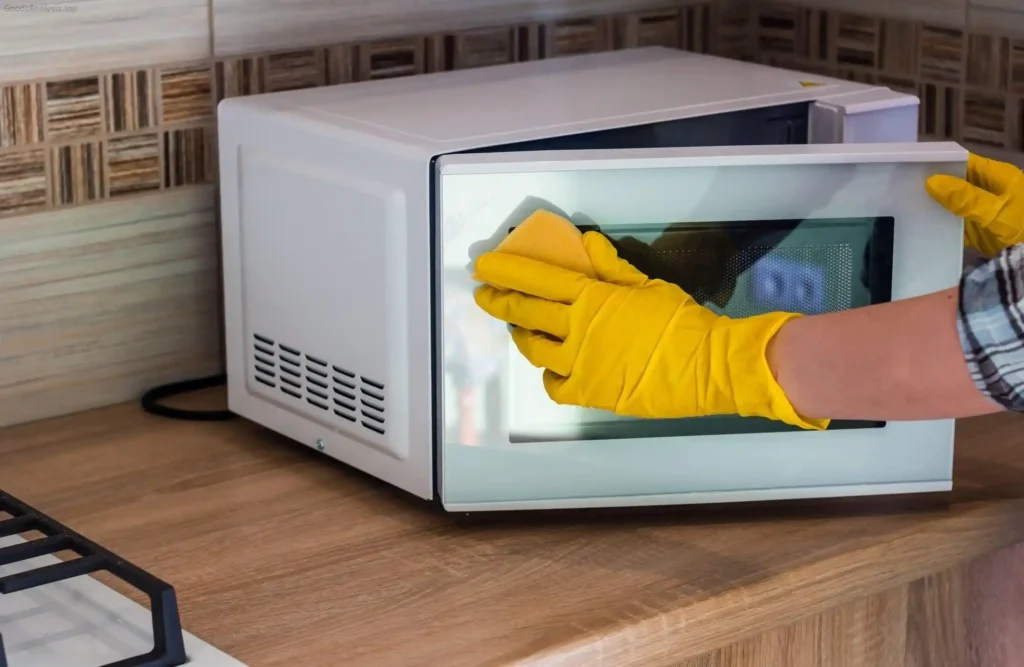
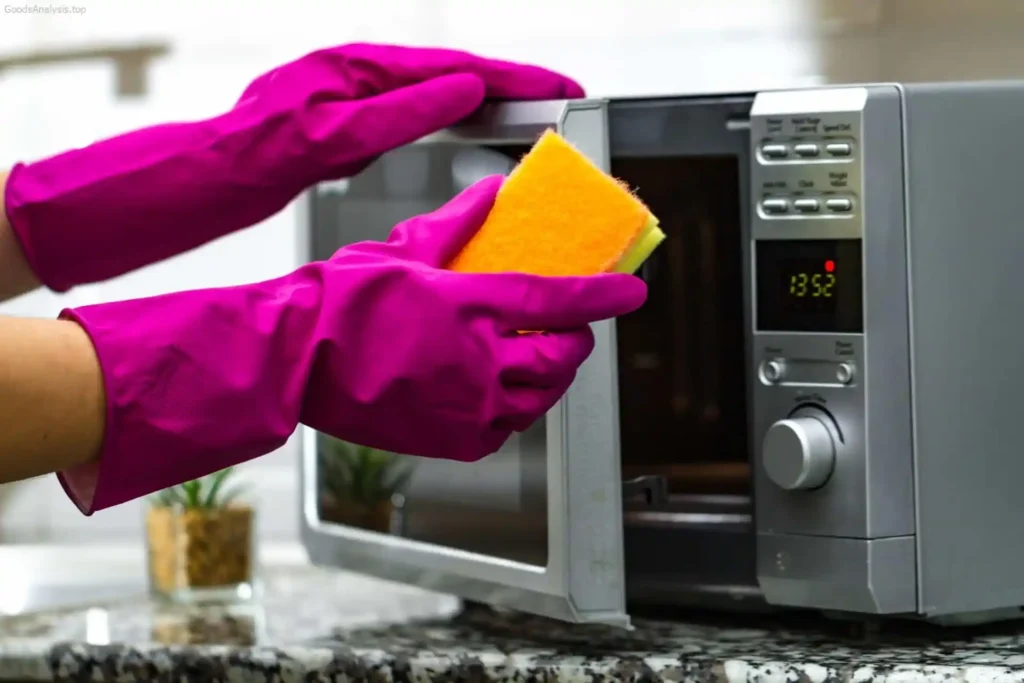
While the inside is often the priority, don’t forget about the exterior of your microwave. Over time, fingerprints, grease, and food splashes can accumulate on the front and even on the control panel. Here’s how to tackle it:

- Use a damp microfiber cloth with dish soap to wipe down the exterior.
- For greasy spots, mix equal parts water and vinegar in a spray bottle, spray the solution on the exterior, and wipe it clean with a cloth. This will cut through the grease without leaving any streaks behind.
- Be cautious around the buttons and control panel. If needed, use a slightly dampened cloth (not dripping wet) to clean them. Too much moisture around electronics can cause damage, so be gentle.
Pro Tip: If you have a stainless steel microwave, avoid using abrasive pads or harsh chemicals, as these can leave scratches or dull the surface. Instead, use a specific cleaner for stainless steel or a mixture of vinegar and olive oil for a streak-free shine.
Step 5: Don’t Forget the Microwave Vents
The microwave’s vent area can collect dust and grease, too. If it’s removable, give it a rinse under warm water with dish soap. If it’s not removable, use a dry cloth or a small brush to dust it off. Pro Tip: If you notice a buildup of grease that’s particularly stubborn, you can apply a small amount of dish soap directly to the vent, let it sit for a few minutes, then wipe it clean.
Common Mistakes to Avoid
- Using harsh chemicals: Cleaning products with strong fumes or abrasive ingredients can damage your microwave’s surface, especially the interior. Stick with mild cleaners and natural solutions like vinegar, lemon, or baking soda.
- Forgetting the door seals: The rubber seals around the microwave door can trap food and grime. Use a damp cloth to gently clean the seals and make sure you’re not missing any spots.
- Not cleaning often enough: If you wait too long between cleans, grease and food splatters can build up, making your job harder. Try to wipe down the interior once a week, even if it’s just a quick pass.
- Using too much water: Microwaves have electrical components, so you should never use excessive amounts of water. Make sure you wring out your cloth well before wiping the interior and always avoid soaking the microwave.

Expert Advice: How Often Should You Clean Your Microwave?
The frequency with which you clean your microwave depends on how often you use it. Ideally, give the inside a quick wipe every week to prevent buildup. A deeper clean — including the turntable, vents, and exterior — should happen every month. Of course, if you’re reheating messy foods like spaghetti or casseroles, a quick spot clean might be in order more frequently.
Opinions on Cleaning Microwaves
1. Maria, 54, Spain
“I clean my microwave every other week. I don’t go crazy with it, but I do make sure to use vinegar to freshen up the inside. I’ve had my microwave for years, and I think keeping it clean helps it run longer.”
2. James, 29, USA
“Honestly, I don’t clean it enough. But when I do, I use lemon because I love the smell. I’ve noticed my microwave works better when it’s cleaner — the steam cleaning method is a game changer.”
3. Rajesh, 40, India
“I’ve learned that a simple solution of baking soda and vinegar does wonders for getting rid of odors. I clean my microwave once a month because I use it so much for heating leftovers. I make sure I clean the door seals every time.”
4. Keisha, 32, UK
“I try to clean mine once a week because I heat up food with a lot of sauce. Vinegar and water really help with tough stains. If you want to avoid microwaving odors, try putting a slice of lemon in the water — it’s magical!”
5. Alejandro, 58, Mexico
“I’ve been cleaning microwaves for decades — it’s easy when you know the tricks. I use lemon juice and steam to get rid of grease. And don’t forget to clean the vents — they get clogged with dust so quickly.”
Conclusion
Cleaning your microwave doesn’t need to be a stressful or complicated task. With a little time, the right tools, and a few cleaning tips, your microwave will stay in great shape for years to come. Plus, there’s something incredibly satisfying about seeing that shiny interior once it’s all cleaned up. So, don’t put it off too long — your microwave (and your kitchen) will thank you for it!


