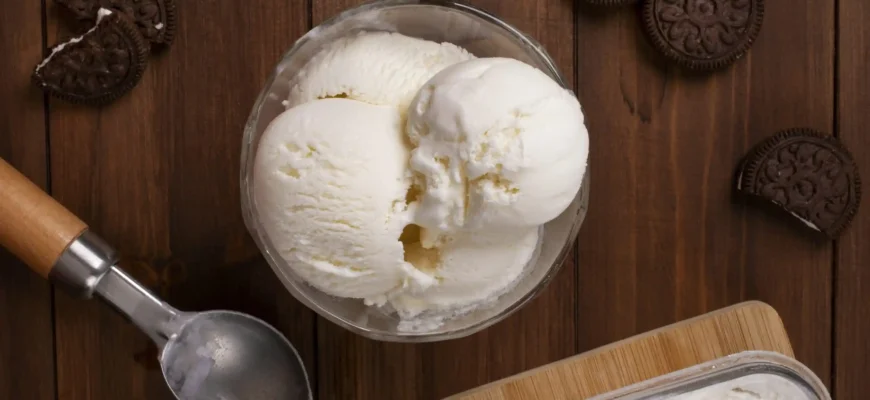
Making ice cream at home is one of life’s simple pleasures. The process is fun, rewarding, and gives you the chance to craft a dessert that’s both tailored to your tastes and free of the preservatives often found in store-bought varieties. Whether you’re a seasoned ice cream aficionado or someone who’s just starting to experiment, this guide will take you through everything you need to know, from the basics to advanced techniques.
Why Make Ice Cream at Home?
Before we get into the how, let’s quickly look at the why.
- Control Over Ingredients: You decide what goes into your ice cream, which is especially important if you’re managing dietary restrictions, allergies, or just prefer wholesome ingredients. No artificial flavors, colors, or preservatives. If you’re into healthy living, you can even go dairy-free, sugar-free, or vegan.
- Customization: Want more chocolate chunks? Fewer nuts? Or maybe you’re craving an exotic flavor combination? At home, you’re the boss.
- Economic Advantage: Although the initial investment in an ice cream machine might seem steep, homemade ice cream is generally more cost-effective in the long run, especially if you make it often.
- It’s Fun: Let’s face it, making your own ice cream can be downright fun, and it’s something the whole family can get involved in. Plus, you’ll have a treat ready for any occasion.
The Basics of Making Ice Cream
Making ice cream at home is surprisingly straightforward. You can go the traditional route with a hand-cranked ice cream maker, use an electric model, or even make it by hand if you’re feeling adventurous. Here’s a basic process:
Ingredients for the Classic Ice Cream Base
To make the simplest, classic ice cream base, you will need:
- 2 cups of heavy cream (for that rich, creamy texture)
- 1 cup of whole milk (you can use low-fat, but it won’t be quite as creamy)
- 3/4 cup of granulated sugar (you can substitute with alternatives like honey or maple syrup, but this might change the texture)
- 1 tablespoon of vanilla extract (or any other flavoring you prefer)
Basic Instructions:
- Mix the Base: In a bowl, combine the heavy cream, whole milk, sugar, and vanilla extract. Whisk until the sugar is dissolved.
- Chill the Mixture: If you have the time, chilling the mixture in the fridge for about 2 hours before churning helps improve the texture.
- Churn the Ice Cream: If you’re using an ice cream machine, pour the chilled mixture into the machine and churn according to the manufacturer’s instructions. This usually takes between 20 and 30 minutes.
- Freeze: After churning, the ice cream will have a soft-serve texture. Transfer it to an airtight container and freeze for a few hours to harden to your desired consistency.
Without an Ice Cream Maker?
You can still make ice cream by hand. Here’s how:
- Prepare the Base: Make the same mixture as above, and pour it into a shallow dish or large Ziploc bag.
- Freeze and Stir: Place the dish in the freezer. Every 30 minutes, stir the mixture with a fork to break up any ice crystals. After about 2-3 hours, it should resemble soft ice cream.
Flavors, Mix-ins, and Fun Variations
Now, let’s get creative! The beauty of homemade ice cream is the endless possibilities for customization. You can flavor your base in countless ways, and adding mix-ins like chocolate chips, fruit, or nuts gives your creation that extra touch.
- Fruit Flavors: Pureed fruits like strawberries, mangoes, or peaches can be added to the base, either blended in or swirled for a marbled effect.
- Chocolate and Nutty Variations: Melted chocolate or cocoa powder can be incorporated for a rich chocolate base. Add some toasted almonds, peanuts, or even peanut butter for crunch and flavor.
- Seasonal Options: Spice things up with pumpkin for fall, or experiment with flavors like matcha or coconut in the summer.
Advanced Techniques: Custard-Based Ice Cream
For those who want to take their ice cream game to the next level, consider making a custard-based ice cream. This technique involves cooking the egg yolks with milk and cream, which results in a smoother, richer texture.
Ingredients for Custard Ice Cream:
- 1 ½ cups of whole milk
- 1 ½ cups of heavy cream
- 5 egg yolks
- ¾ cup of granulated sugar
- 1 tablespoon of vanilla extract
Instructions:
- Heat the Dairy: In a saucepan, heat the milk and cream over medium heat until it’s hot but not boiling.
- Temper the Eggs: In a separate bowl, whisk the egg yolks and sugar until light and smooth. Gradually add some of the hot milk to the egg mixture to temper the eggs (this prevents scrambling).
- Cook the Custard: Slowly add the egg mixture back into the saucepan, and cook over low heat, stirring constantly, until it thickens and coats the back of a spoon. This usually takes about 10-15 minutes.
- Chill the Custard: Let the custard cool to room temperature, then chill it in the fridge for at least 4 hours (or overnight).
- Churn and Freeze: Once chilled, churn it in an ice cream maker and freeze to your desired consistency.
Common Problems and How to Solve Them
- Ice Crystals: Sometimes homemade ice cream can get icy. This happens when the mixture isn’t churned enough or isn’t kept cold enough. To solve this, make sure your machine is properly frozen, and churn the ice cream for the full time. Using full-fat cream also helps avoid large crystals.
- Too Hard or Too Soft: If the ice cream is too soft after churning, let it firm up in the freezer for a few hours. If it’s too hard, you can let it sit out for a few minutes before serving to soften.
- Overmixing or Undermixing: Too much mixing can lead to air bubbles and a frothy texture, while too little mixing will result in a dense ice cream. Finding the right balance can take some practice, but once you do, it’s smooth sailing.
FAQs on Homemade Ice Cream
Q1: Can I make ice cream without an ice cream machine?
Yes, absolutely! You can use a Ziploc bag method or make no-churn ice cream. The Ziploc bag method involves freezing the mixture in a shallow container, stirring every 30 minutes.
Q2: Can I use non-dairy alternatives for ice cream?
Yes, there are many non-dairy alternatives, such as coconut milk, almond milk, or oat milk. You may need to adjust the sweetness and texture slightly.
Q3: How long will homemade ice cream last?
Homemade ice cream can last 1-2 weeks in the freezer if stored in an airtight container. The sooner you eat it, the better for texture and flavor!
User Opinions on Homemade Ice Cream
- Maria, 36, Spain: “I started making my own ice cream after finding out how much sugar was in store-bought brands. It’s fun, and I feel so much better knowing exactly what’s in it. My kids love helping me out too!”
- John, 60, USA: “I’ve been making ice cream for decades, and the best advice I can give is to be patient. Don’t rush it, and always taste your base before freezing it. That extra step makes all the difference.”
- Amina, 29, Egypt: “I made mango sorbet for the first time last summer, and it was a game-changer. The trick is to use ripe, fresh fruit. It makes all the difference.”
- Liu, 47, China: “I prefer making ice cream with matcha or red bean. The balance of flavors is fantastic. I like to make a big batch because it’s hard to find anything similar in stores here.”
- Raj, 25, India: “I have a dairy intolerance, so I use coconut milk for my ice cream. It’s creamy and satisfying without any of the discomfort. My friends love it, and they don’t even know it’s dairy-free!”
Final Thoughts
Making ice cream at home is a fun and rewarding experience that allows you to experiment with flavors, textures, and ingredients. While it requires a little time and patience, the results are well worth the effort. Whether you’re making a classic vanilla base or a rich custard, the possibilities are endless. So why not give it a try? After all, there’s no better way to enjoy a bowl of ice cream than knowing you made it yourself.

