
Making a cheesecake from scratch is one of those culinary pleasures that, once you master, will have you coming back to it again and again. But let’s be honest, it can seem a bit intimidating at first. With all those layers—crust, filling, and often a topping—how do you get it all just right? Well, that’s exactly what we’re going to explore here.
I’m in my 50s now, and I’ve been baking and cooking for decades, so I’ve seen my fair share of cheesecake recipes. But like a good cheesecake, the recipe itself has evolved over time. With the right mix of ingredients and a few helpful tips, you can create a cheesecake that will impress your family, friends, or just your taste buds.
Let’s start with the basics and break everything down step-by-step, from crust to filling and beyond.
The Essentials of Cheesecake
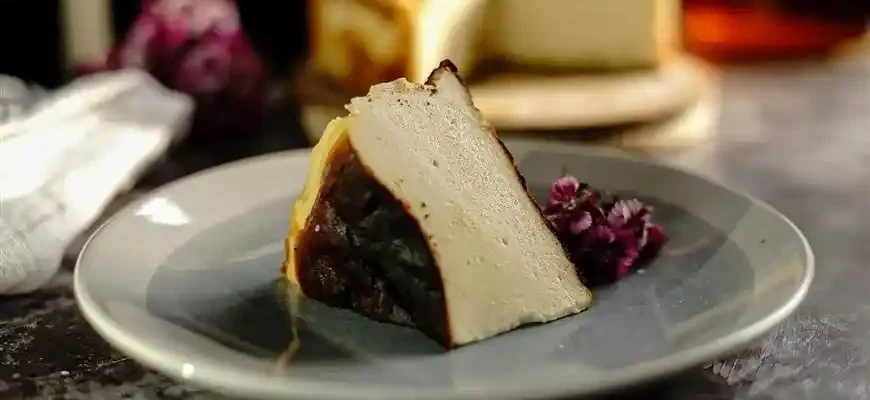
A classic cheesecake has three main components: the crust, the filling, and any optional toppings or additions. The key is balance. The crust should be crunchy enough to contrast with the smoothness of the filling, while the filling should be rich, creamy, and not too sweet.
Here’s an overview of what you’ll need and how each part of the cheesecake comes together.
1. The Crust: A Simple Yet Crucial Foundation
The crust is the foundation of your cheesecake, and while some folks like to skip it and go with a pre-made graham cracker crust (shame on you, unless you’re in a real rush), I highly recommend taking the time to make your own from scratch. Not only does it taste better, but it also gives you full control over texture and flavor.
Ingredients for the Crust:
- 1 ½ cups graham cracker crumbs (about 10 crackers)
- 2-3 tablespoons granulated sugar
- ½ teaspoon ground cinnamon (optional but adds a nice depth of flavor)
- 6 tablespoons unsalted butter, melted
- Pinch of salt
How to Make the Crust:
- Preheat your oven to 325°F (160°C).
- Mix the graham cracker crumbs, sugar, cinnamon (if using), and salt in a bowl.
- Stir in the melted butter until everything is well combined and the crumbs are moist.
- Press the mixture evenly into the bottom of a springform pan (8 or 9 inches works best). You can use the back of a spoon or your fingers to press it down firmly.
- Bake for about 10 minutes, or until lightly golden and set. Set aside to cool while you prepare the filling.
The key here is to make sure the crust is pressed down well to avoid any crumbly mess later on.
2. The Filling: Creamy and Lush
Now, onto the pièce de résistance— the filling. This is where you can get creative and tweak things to your liking, but at its core, a cheesecake filling needs cream cheese, sugar, eggs, and something to thicken and stabilize it, like sour cream or heavy cream.
Ingredients for the Filling:
- 4 (8 oz) packages of cream cheese, softened (room temperature!)
- 1 cup granulated sugar
- 1 teaspoon vanilla extract
- 1 cup sour cream or heavy cream
- 3 large eggs, at room temperature
- 1 tablespoon cornstarch (optional, but it helps with smoothness and prevents cracks)
How to Make the Filling:
- Beat the softened cream cheese with an electric mixer on medium speed until smooth and creamy, about 3-4 minutes.
- Gradually add sugar and vanilla, and continue mixing until combined.
- Add the eggs one at a time, mixing just until incorporated. Don’t overbeat or you’ll incorporate too much air.
- Mix in the sour cream (or heavy cream) until smooth.
- If you’re using cornstarch, sift it in now. This helps thicken the mixture and prevents it from separating or cracking during baking.
- Pour the filling into the cooled crust.
3. Baking the Cheesecake: The Careful Balance
The baking process is a bit tricky, but once you get the hang of it, you’ll have perfect cheesecakes every time. The key here is slow, gentle cooking. You don’t want to rush it.
How to Bake Your Cheesecake:
- Preheat your oven to 325°F (160°C) if you haven’t already.
- To prevent cracks, it’s a good idea to place your cheesecake in a water bath (also called a bain-marie). Wrap the bottom of your springform pan tightly with aluminum foil to prevent leaks, and place it inside a larger pan filled with about an inch of hot water.
- Bake for 50-70 minutes, depending on the size and thickness of your cheesecake. The cheesecake is done when the edges are set, but the center still jiggles slightly when shaken gently.
- Turn off the oven, crack the door, and let the cheesecake cool slowly for about an hour. This helps to prevent cracks caused by a sudden temperature change.
- After an hour, remove from the oven and let cool completely at room temperature before refrigerating for at least 4 hours, or preferably overnight.
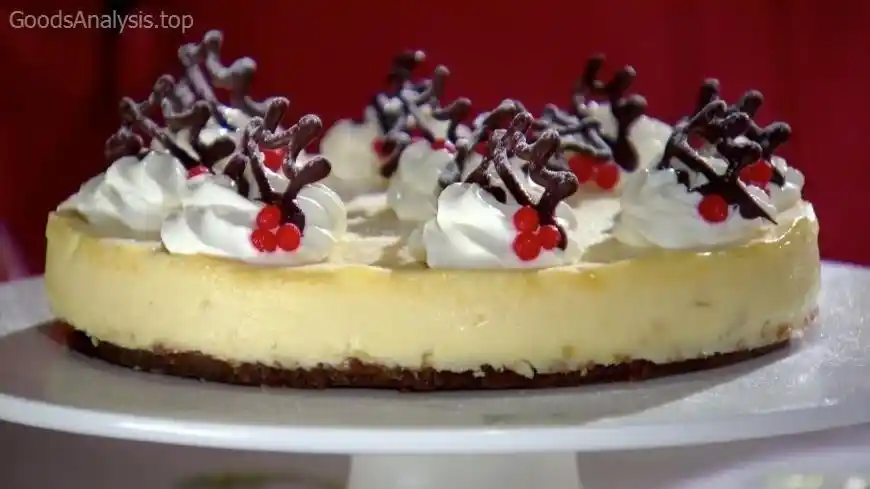
4. The Finishing Touch: Toppings & Additions
Cheesecake can be enjoyed plain or adorned with various toppings, like fruit, whipped cream, or a rich fruit compote. If you’re feeling adventurous, a swirl of caramel or chocolate ganache can turn your cheesecake into a real showstopper. But always remember, less is more. A simple, fresh topping can often complement the rich flavor of the cheesecake itself.
Common Mistakes to Avoid:
Even the most experienced bakers make mistakes. Here are a few common pitfalls to avoid, along with solutions:
- Cracked Cheesecake: This is a big concern. Cracks usually happen because the cheesecake is baked too quickly or the temperature fluctuates too much. The water bath and the gradual cooling will help, but if cracks do appear, cover them up with a fruit topping or whipped cream. It’s all part of the cheesecake charm.
- Undercooked Center: If the cheesecake is still too wobbly in the center, you’ll need to bake it a little longer. Every oven is different, so don’t be afraid to give it an extra 10 minutes. Just don’t open the oven door too often.
- Overmixing: Don’t overmix the batter, especially once you add the eggs. Overmixing incorporates too much air, which can cause cracks and texture issues. Gentle mixing is key.
Final Thoughts
Making cheesecake from scratch is truly an art form—one that rewards patience, attention to detail, and a bit of care. But, like everything worth doing, the effort is well worth it. And the joy of biting into a rich, creamy cheesecake you made yourself? Well, that’s worth more than any store-bought option could ever offer.
As with any recipe, feel free to adapt this one. Want to make it gluten-free? Use gluten-free cookies for the crust. Want a lighter version? You can swap out the cream cheese for lighter options (but remember, it won’t have the same creaminess). The world of cheesecake is vast, and every version has its own charm.
Opinions From People Around the World:
- Mary (USA, 56): “I’ve made cheesecake for years, but I swear this recipe is the one. I love that it’s so customizable—you can add anything to it, but it’s delicious even just plain.”
- Jiro (Japan, 40): “Japanese cheesecakes are lighter, but I tried this American-style one for the first time. It’s so rich, creamy, and smooth! My kids loved it too.”
- Lucia (Spain, 63): “Cheesecake is a special treat in our family. We’ve been making it for generations. This recipe is close to the one my grandmother used, though we add a bit of citrus zest sometimes for extra flavor.”
- Carlos (Brazil, 29): “I’ve always been intimidated by cheesecakes. But I tried this one and it was easier than I thought. The water bath really works!”
- Amina (Kenya, 45): “My first try at cheesecake! I didn’t expect it to be so good. Now I make it for special occasions and always get compliments.”
Making a cheesecake from scratch might sound complicated, but as you can see, with the right steps, it’s a treat that’s totally achievable. So go ahead, gather your ingredients, and give it a try!


