
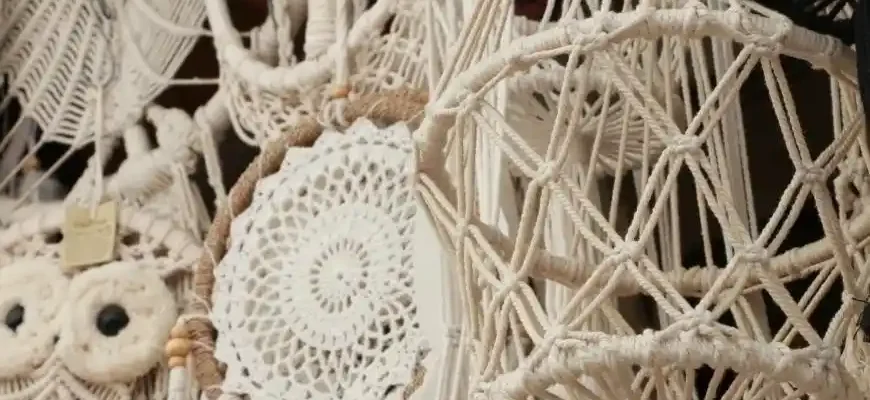
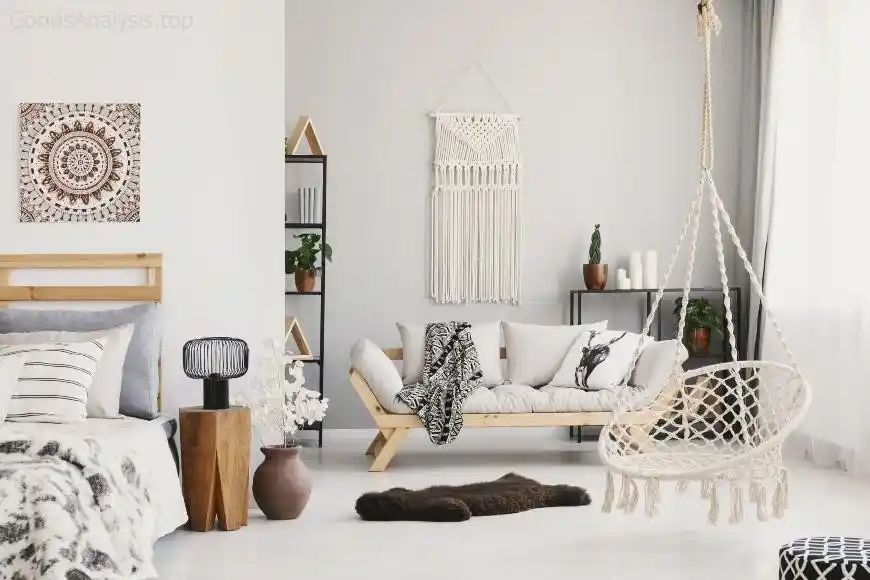
Macramé is an ancient craft, originating in the 13th century, that involves knotting strings or cords to create beautiful and intricate patterns. Today, macramé is more popular than ever, especially in interior design, where it’s used to create stunning wall hangings, plant hangers, and even jewelry. Whether you’re looking to add a personal touch to your home or dive into a new hobby, creating a macramé wall hanging can be a therapeutic and rewarding experience. Let’s break down everything you need to know, from the basics to the more advanced techniques.
What You’ll Need
Before you start, let’s gather the necessary tools and materials. Don’t worry—it’s not as complicated as it might sound!
- Macramé Cord: The most common cord used for macramé is a 3-ply cotton rope, but you can also experiment with jute, linen, or synthetic fibers. For beginners, a cord with a thickness of 3-5mm is ideal.
- Scissors: Sharp scissors are essential for cutting your cords neatly.
- Wooden Dowel or Branch: This is the base for your wall hanging. A wooden dowel (12-24 inches) is common, but you can also use a branch from outside for a more rustic look.
- Tape Measure or Ruler: To measure and cut your cords to the correct length.
- Comb or Brush: For fringing your macramé to give it that fluffy, boho effect.
- Patience and Time: Trust me, this is one project where the saying “slow and steady wins the race” applies.
Step-by-Step Process
1. Prepare Your Materials
Start by deciding how big you want your wall hanging to be. Cut your macramé cords into several lengths. The most common starting point is around 10-12 cords, each 2-3 times the length you want your final piece to be. For example, if you want a hanging that is 30 inches long, cut each cord to 60 inches.
2. Attach Cords to the Dowel
Next, you’ll attach the cords to your dowel using a simple knot called the Lark’s Head Knot. Fold each cord in half, place the loop over the dowel, and pull the ends through the loop. Tighten it, and repeat this process for each cord.
3. Start Knotting
This is where the fun begins! The three most common knots in macramé are the Square Knot, the Half Knot, and the Flat Knot. Let’s go through the basic square knot:
- Take the outer cords on the left and right and make a loop with the left cord.
- Pass the right cord over the left cord and under the middle cords.
- Pull the ends of the right cord through the loop on the left and tighten.
- Repeat with the left and right cords alternating.
As you get more comfortable, you can start experimenting with different combinations of these knots to create complex designs. Keep in mind that tension is important in macramé—if your knots are too tight or too loose, it can throw off the whole look.
4. Create Your Design
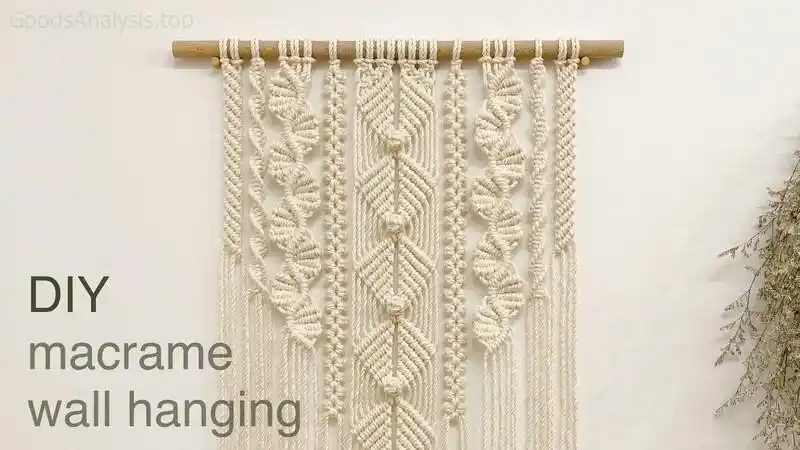
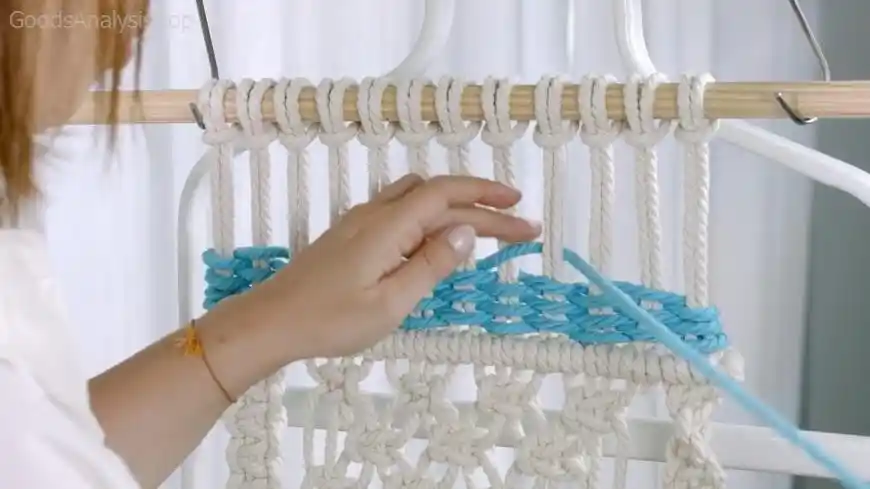
Now it’s time to get creative! You can make simple geometric patterns, or you can create intricate mandalas and fringed designs. The most popular designs for beginners are the “feather” or “fan” shapes, which use simple knots to create large, sweeping patterns. Keep experimenting, and soon you’ll find your rhythm.
5. Fringe the Bottom
Once you’ve completed the knots to your desired length, it’s time to add the signature fringe to your macramé wall hanging. Take a comb or a brush and carefully untwist the ends of your cords to create a soft, textured fringe. You can leave the fringe long or trim it to your desired length.
6. Finishing Touches
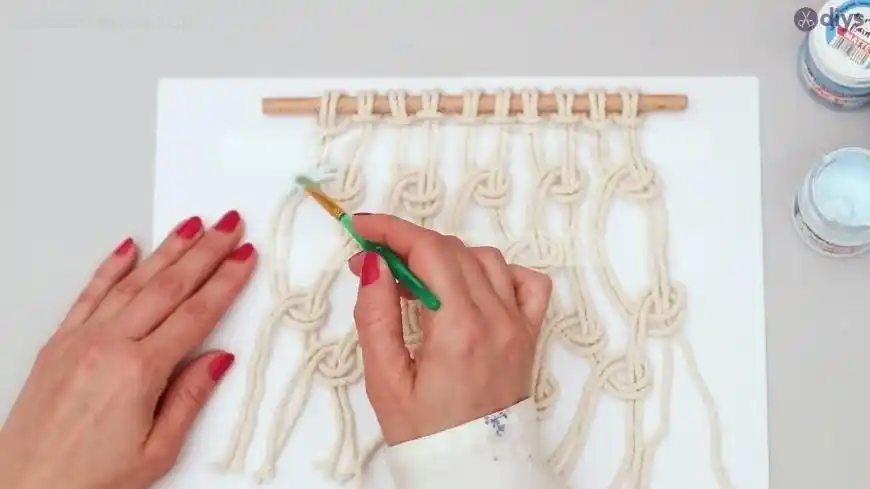
When your design is complete, trim any uneven edges, and hang your macramé wall hanging on a hook, nail, or mounting hardware. You might also want to spray it lightly with starch or fabric stiffener if you want the piece to hold its shape.
Common Issues and How to Solve Them
While macramé is fun, there are a few pitfalls to be aware of:
- Uneven Tension: If your knots are too tight, your work might end up looking stiff and unnatural. If they’re too loose, your pattern could look sloppy. The key is to keep the tension even throughout. Solution: Keep an eye on your knots as you go, and if you notice any tension issues, gently loosen or tighten them.
- Not Enough Cord: If you’ve miscalculated how much cord you need, you might run out mid-project. Solution: Always cut extra cord in case of mistakes or changes. It’s better to have a little more than run short.
- Fringe Messiness: The fringe can look uneven if not carefully combed or cut. Solution: After combing, take your time to trim the fringe evenly, or use a fabric shaver to smooth out any rough edges.
Helpful Tips
- Choose the Right Cord: When selecting macramé cord, make sure it’s soft but sturdy enough to hold the knots without breaking. If you’re using a thicker cord, you might want to limit your pattern complexity to keep things manageable.
- Design First: Before you start knotting, sketch out your design. Having a visual plan makes the process easier and more enjoyable.
- Practice Patience: Macramé is a craft that takes time, and part of its charm is the meditative, repetitive process of knotting. If you’re new to it, start small and work your way up.
Final Thoughts
Macramé is more than just a craft; it’s an art form, a way to relax, and a means to express creativity. Whether you’re decorating your home, gifting a handmade piece, or simply enjoying the process, there’s a real sense of satisfaction in creating something with your own hands. And while it might seem intimidating at first, once you get the hang of it, you’ll find that the sky’s the limit in terms of what you can create.
Real-Life Opinions on Macramé Wall Hangings
- Anna, 63, UK: “I’ve been doing macramé for years, and every piece brings such a sense of accomplishment. It’s soothing, and it helps me disconnect from the world for a bit. My grandkids love to make small projects with me now—it’s become a family thing.”
- Carlos, 45, Brazil: “I initially tried macramé because I wanted to make some homemade gifts, but I was hooked! It’s therapeutic, and I love the look of a handmade wall hanging. The only thing I struggle with is making the knots tight enough to keep the piece sturdy.”
- Mei, 28, China: “I started macramé during the pandemic as a way to pass the time. I made a few wall hangings for my apartment, and now I sell some of my pieces online. It’s been amazing how many people appreciate the effort that goes into it.”
- John, 55, USA: “I didn’t think macramé would be my thing, but I gave it a shot after my daughter showed me some online tutorials. It was surprisingly fun, and now I’ve made a few pieces for my house. The most challenging part is getting the tension right on the knots.”
- Nina, 39, India: “Macramé helped me reconnect with a more creative side that I hadn’t explored before. It’s a great way to unwind after work, and I love how customizable the designs can be.”
By now, you should have a pretty solid understanding of how to create your own macramé wall hanging. Remember, like any craft, practice makes perfect, and it’s all about enjoying the process. Happy knotting!


